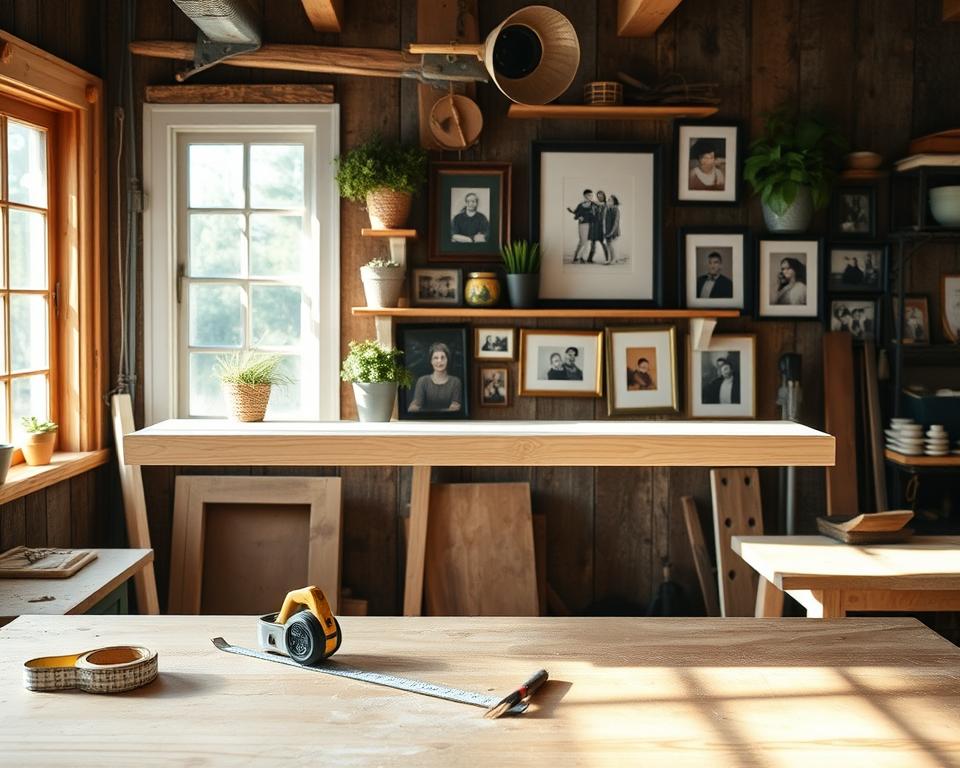
About 65% of U.S. adults like to decorate their homes with personal photos and art. Making a picture ledge shelf by yourself is a great way to show off your favorite memories. It also makes your living space look better with your own style and personality. This guide on making your own picture ledge shelf is easy to follow, even for beginners. It will help you bring a creative touch to your decor.
Key Takeaways
- Picture ledge shelves are functional and stylish additions to any room.
- This DIY project is ideal for beginners looking to personalize their space.
- Creating a picture ledge can showcase photos, artwork, and decor beautifully.
- Follow the step-by-step tutorial for successful construction and installation.
- Explore customization options like painting and adding decorative trim.
What is a Picture Ledge Shelf?
A picture ledge shelf is made for showing off photos, art, and decor. It makes your home look neat and interesting. It is simple and lets you move things around without the hassle of normal shelves.
Definition and Purpose
This shelf offers a flat space for displaying items securely. They can be short or long and are usually hung where you can easily see them. The design is simple but makes any room look better, fitting well with modern home styles. It’s great for anyone wanting to add charm with *picture ledge shelf ideas*.
Benefits of Using Picture Ledges
Picture ledges have many advantages:
- They make use of vertical spaces, brightening up unnoticed walls.
- They make it easy to change your decor without extra work.
- They let you update your displays anytime, perfect for seasonal decor or personal touches.
Adding a picture ledge makes any wall stand out. It adds both beauty and function to your place. Dive into the *benefits of picture ledges* and think about getting one for your home.
Materials Needed for Your Picture Ledge
To make a sturdy and good-looking picture ledge, you’ll need the right materials and tools. It’s important to know which materials and wood types to use. This will help you do a great job on your DIY project.
Types of Wood
The wood you choose is key for how your shelf looks and lasts. Here are some common choices:
- Poplar – It’s affordable and easy to work with, good for painting or staining.
- Pine – It’s light and easy to find, making it great for DIY projects.
- Hardwoods like Oak – They’re strong and have a nice grain, ideal for a classy look.
Essential Tools
The right tools can make building your picture ledge smoother and better. Here’s what you’ll need:
- Miter saw for accurate cuts.
- Kreg pocket-hole jig for solid joints.
- Drill for making holes and screwing.
- Clamps to keep pieces in place during assembly.
- Sandpaper to smooth edges and surfaces.
Optional Decorative Elements
You can also add some personal touches to your shelf. Here are a few ideas:
- Paint to add color that matches your room.
- Wood stain to bring out the wood’s natural beauty.
- Edging for extra style and a finished look.
Measuring and Planning Your Space
Before starting your picture ledge shelf project, it’s key to measure and plan carefully. Knowing how to measure for a picture ledge shelf will make the installation smoother. A thought-out plan is the base for a functional and attractive display.
Determining Ideal Dimensions
Think about the width and height that fit your space when measuring for your shelf. Shelves can be from 4 to 8 feet long. Customizing the size to your wall can make it look better. Make sure the shelf’s depth is right for what you want to display without making your wall look cluttered.
Choosing the Right Location
Choosing the best spot for your shelf is also key. Find wall studs for sturdy support. Mark the height you want on the wall with painter’s tape. This helps you see where it will go and makes sure it’s at the right height.
Follow these suggestions, and you’ll create a stunning and practical picture ledge shelf that fits your space just right.
Step-by-Step Guide to Building Your Picture Ledge
Are you ready to start your DIY picture ledge shelf project? Here’s a guide for cutting, assembling, and finishing your shelf. To make a picture ledge shelf, you need to measure carefully and have some basic woodworking skills. Let’s get into the details.
Cutting the Wood
First, measure and mark your wood pieces using the dimensions you’ve chosen. Use a miter saw for straight cuts. This will help the pieces fit together well. You’ll need the main shelf piece and a backing support. Being accurate now is important for your project’s success.
Assembling the Pieces
Now, put the wood pieces together. Use pocket screws for a tidy appearance since they hide the hardware. Attach the backing with wood glue and finish nails. This is key for making sure your shelf is strong enough for your items.
Sanding and Finishing
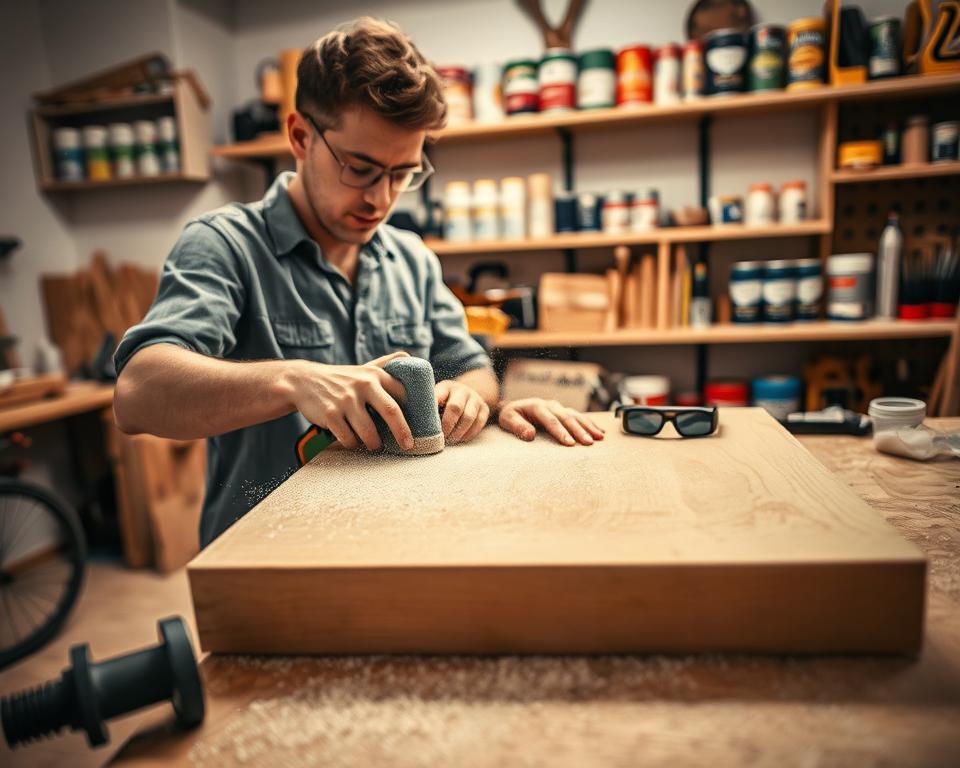
Sanding and finishing lets your project really stand out. Start with coarse sandpaper (80 grit) to smooth rough spots. Then use fine sandpaper (150 grit) for a sleek finish. After sanding, add stain or paint to make it look great. Let it dry completely before you hang up your shelf.
Installing Your Picture Ledge Shelf
Getting your new picture ledge shelf up is all about the right start. Use the correct hardware, and securing it becomes easy. Just follow our guide to have your shelf level and strong.
Choosing the Right Hardware
Picking the right hardware is crucial for a solid setup. For wooden shelves, sturdy drywall screws or wall anchors fit different walls. Use long screws for studs to mount it firmly. This way, your shelf will safely hold all your frames and decorations.
Step-by-Step Installation Process
To set up your shelf, just follow these steps:
- Use a stud finder to mark where the studs are on your wall.
- Drill small holes where you’ve marked to make screwing in the hardware easier.
- Stick on painter’s tape to mark lines. It helps you align everything straight.
- Put up the shelf, making sure it’s level before tightening the screws in place.
Styling Your Picture Ledge
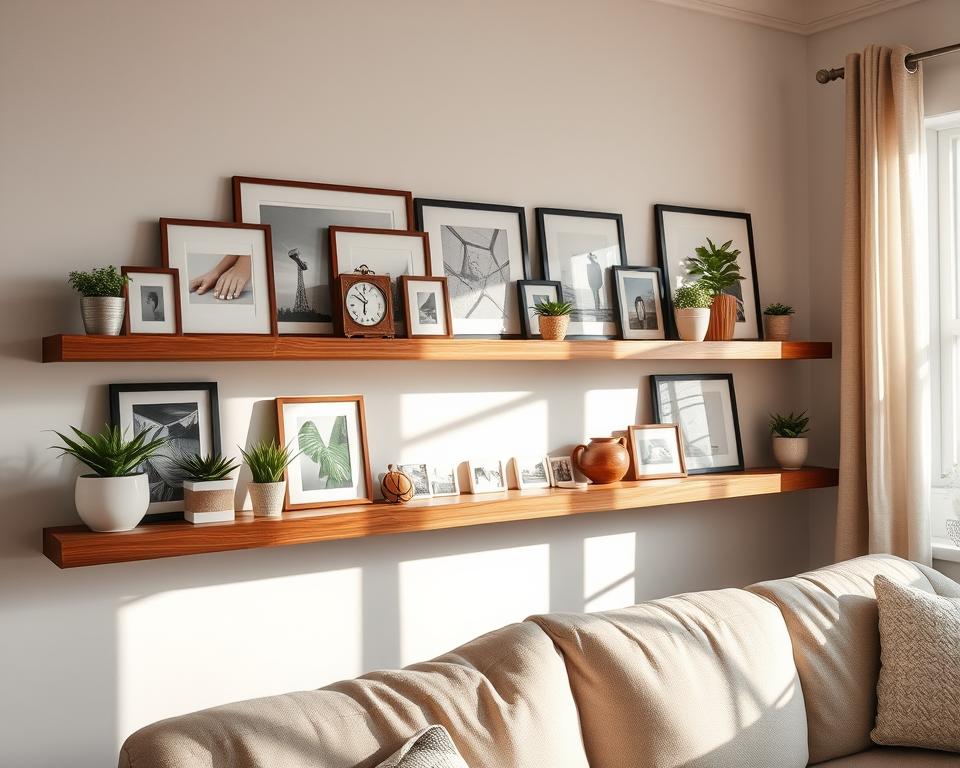
Making your picture ledge shelf look good can really change a room’s vibe. Adding things like photos, art, and accessories lets you make a space that’s uniquely yours. Look at these style tips to spark ideas for your own place.
Creative Arrangements
Want to grab people’s attention? Play with different heights and ways to frame your pictures. Combine big frames with little ones for a cool look. Putting some books on one side can make things look balanced and interesting.
Try asymmetrical designs for a modern feel. They look casual and fun.
Using Art and Photos
Mixing personal photos and art gives your shelf personality. Pick pieces that mean something to you. This way, your style shines through. Mixing black-and-white with color works great. Also, changing your art now and then keeps things fresh.
Adding Accessories
Adding things like plants or candles can really jazz up your shelf. They add different textures and make a pictures-only shelf more lively. Think about changing things up with the seasons for a fun twist. This keeps your space interesting and lets you play with new ideas.
| Element | Purpose | Styling Tips |
|---|---|---|
| Photos | Add personal touch | Mix sizes and frames |
| Art | Enhance visual interest | Balance colors and styles |
| Plants | Introduce freshness | Consider different heights |
| Candles | Add warmth | Vary heights for balance |
| Books | Provide depth | Stack or lean for variety |
Maintenance and Care for Your Picture Ledge
To keep your picture ledge shelf in top shape, it needs regular care. This makes it look good and last longer. Here are tips for cleaning your picture ledges and spotting any damage.
Dusting and Cleaning
Dusting should be a regular activity. Use a soft cloth or feather duster. This avoids scratching the surface. A gentle wipe removes dust and dirt. Doing this often makes your shelf look better and stops dirt from building up.
Checking for Damage
It’s key to check your shelf for any damage now and then. This is especially important if you change or add items often. Look for any signs that it’s not stable or has wear. Making sure everything is secure helps avoid accidents and keeps your shelf’s look.
| Maintenance Task | Frequency | Notes |
|---|---|---|
| Dusting | Every 1-2 weeks | Use soft cloth to prevent scratches. |
| Check for Damage | Monthly | Look for any signs of instability. |
| Deep Cleaning | Every 6 months | Use mild soap and water for cleaning. |
Troubleshooting Common Issues
Every DIY project has its challenges, including installing a picture ledge shelf. In this part, we’ll look at some common issues and how to fix them.
Uneven Installation
If your picture ledge shelf isn’t level, first check its mounting. Make sure it’s firmly fixed to the wall studs and is straight. A small tilt can greatly impact its look and use.
Use a spirit level during setup for an accurate placement, aiming for a perfect horizontal line. This step can prevent many issues.
Weight Limits
Knowing your shelf’s weight limit is crucial for its upkeep. Overloading it can lead to sagging or it coming off the wall. Always check the manufacturer’s guidelines to see what it can handle.
Periodically review what you have on display to avoid problems from exceeding these limits.
Customization Ideas for Your Picture Ledge
Customizing your picture ledge can make your place more special. A few creative touches can change a simple shelf into a stunning highlight of any room. Try out some painting and staining ideas to make your shelf stand out.
Painting and Staining Options
Choosing the right finish can really change the look of your picture ledge. Neutral tones like whites, greys, and beiges give a classic feel. They fit in well with many decorating styles. For a more daring look, bright colors like deep blues or fiery reds can add modern style to your shelf.
Adding Decorative Trim
Adding decorative trim or molding can give your shelf more style and complexity. Look at using beadboard or crown molding to make your shelf fit your room’s design. This small change can make a big impact, making your shelf uniquely yours.
Picture Ledge Shelf Inspirations
Different picture ledge shelf styles can make your home look better. You might like modern, sleek designs or maybe prefer rustic and vintage looks. Each one lets you show off your creative side.
Modern and Minimalist Styles
Modern shelves are simple and useful. They often use metal or wood with straight edges. Adding colors or sticking to one can make it more stylish. This gives a polished look to any room.
Rustic and Vintage Looks
If you like a cozy feel, try making a rustic shelf yourself. Using old wood adds warmth and charm. Add old frames and interesting small items for a special touch. Mixing different levels and textures can draw the eye.
Final Thoughts on Picture Ledge Shelf DIY
As we finish our guide, here’s a brief recap on making a DIY picture ledge shelf. You know how to pick your materials and tools. Plus, you’ve mastered cutting, putting together, and placing your picture ledge. Every step is key to making your project turn out great. It also lets you show off your style. Making something that makes your space better feels amazing.
Now comes the exciting part—designing! Feel free to try out different styles for your picture ledge. You might like a sleek, modern look or something cozier and rustic. Mix up colors, textures, and how you arrange things. This makes your picture ledge stand out. It’s your chance to let your imagination go and make your home feel more “you.”
DIY projects give you lots of freedom. Each picture ledge you make can share a bit about you and your passions. So, get ready to start. Turn your living area into a personal art gallery. Enjoy making it!