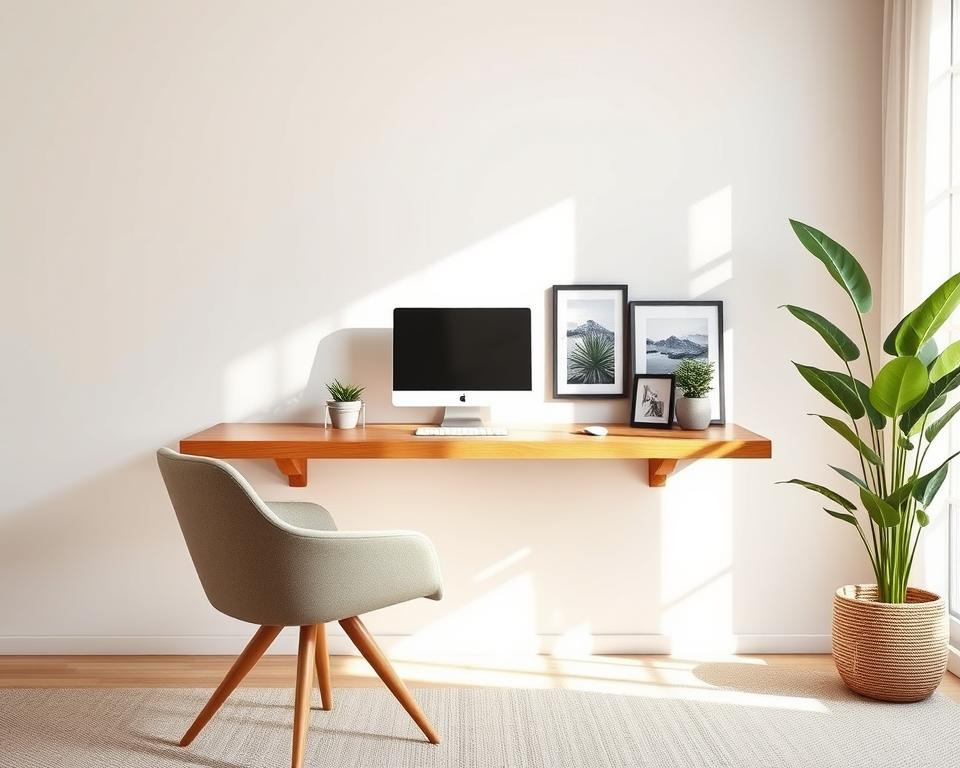
Nowadays, almost 80% of homes in America have a home office or a specific area to work. This change shows how crucial it is to have a useful yet attractive work area at home. If you need a workspace but don’t want to lose space, a floating desk is an excellent choice. This guide on making a floating desk gives you step-by-step instructions. Plus, it includes plans for both modern and rustic looks. With a floating desk that mounts to the wall, you free up floor space and give your room a modern vibe.
Key Takeaways
- A floating desk maximizes space and provides a modern look.
- Building your own floating desk can be a rewarding DIY project.
- Careful planning and good materials are key to success.
- Customize your desk to fit your unique style and needs.
- Consider weight distribution and wall strength for safety.
What is a Floating Desk?
A floating desk is a modern twist on traditional desks. It’s a wall-mounted surface that looks like it’s floating. This design is perfect for those who love a modern look. It mixes beauty with practical use in today’s homes.
Definition and Concept
A floating desk is a desk attached to the wall with brackets. It doesn’t have legs like other desks. This style makes a room look better and saves space. Without legs, there’s more room on the floor. This makes the space feel bigger and moves around easier.
Benefits of Floating Desks
Floating desks offer many advantages. They’re great for small spaces or modern offices because of their minimalist style. They don’t have legs, so you can put them at the height you like. Floating desks match many styles, from modern to rustic. They’re easy to set up, so you don’t need lots of tools or help.
Why Choose a Floating Desk?
A floating desk brings many great benefits to any work area. It’s perfect for combining function and style, especially in tight spaces.
Space-Saving Advantages
Floating desks save floor space, perfect for small rooms. They hang on the wall, leaving more room below. This makes them great for places that need to be used in many ways. Many people switch to floating desks to get more work space and less mess. This space-saving advantage is perfect for those who want to use small spaces better.
Contemporary Aesthetic Appeal
Floating desks add a modern touch to any room. Their simple design and sleek lines fit many style preferences. They work well with your current room style and make it look better. Whether it’s for work, creating, or studying, a floating desk makes any space look neat and trendy.
Tools and Materials Needed
To build a floating desk, you need the right floating desk materials and tools. With these, anyone can make a workspace that looks good and works well. Let’s dive into what you’ll need to begin.
Essential Tools for the Project
- Stud Finder
- Drill
- Level
- Saw
Recommended Materials
- Plywood or Butcher Block for the top
- Sturdy Support Beams (2x4s)
- Mounting Hardware
You can find many floating desk materials at home improvement stores. Choose durable plywood or butcher block for a usable and nice-looking desk. Birch plywood is strong and looks great, making it a top pick for desks.
Designing Your Floating Desk
Start by looking at the area where the desk will go. It’s key to pick a size that fits just right. You want it to work well in the space. Measure the height, width, and depth to see how it will fit into your room.
Determining the Size and Dimensions
The size of your desk matters for how you’ll use it. A depth of 24 inches is good for work space. Measure your wall to find out the max width you can have. Choose a height that works with what you already have for a smooth workflow.
Style Considerations: Modern vs. Rustic
Choosing a style for your desk is important. For a modern look, think clean lines and materials like wood or metal. If you prefer a rustic vibe, go for warm wood tones and textures. Both styles can make your space look great and function well.
Step-by-Step Guide: Building Your Floating Desk
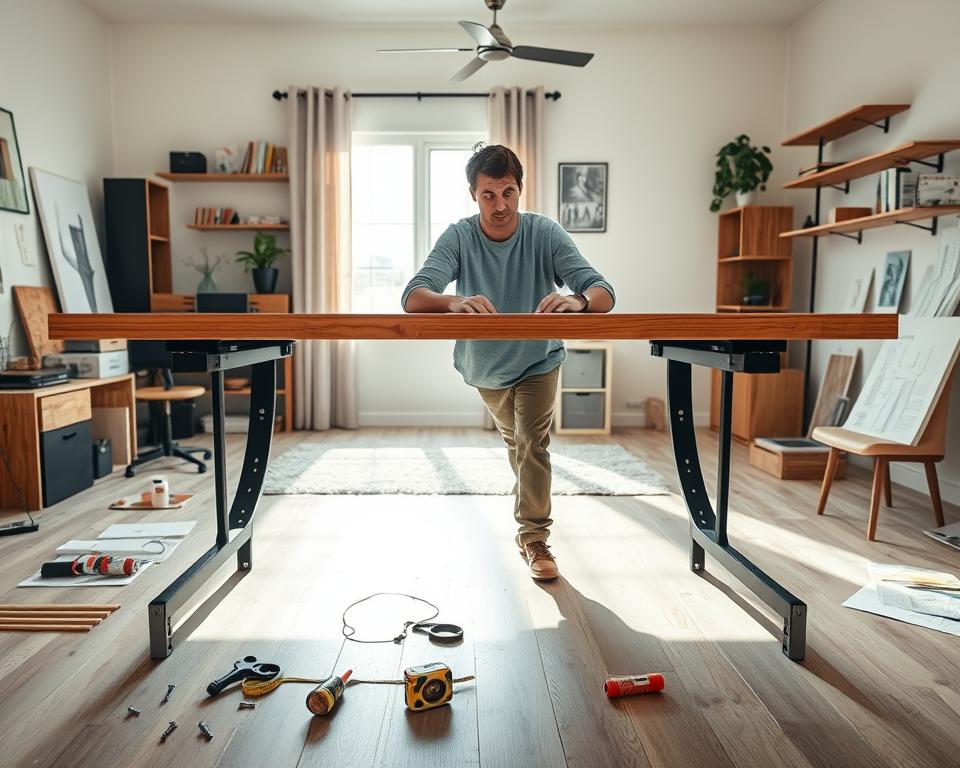
Making your own floating desk is exciting and fun. This guide will show you how to do it, from getting your workspace ready to putting everything together. Every step is important to make sure your desk looks good and works well.
Preparing Your Workspace
An organized space is key. Clear out any mess and get your tools and materials ready. This helps you work better and faster. Make sure the lighting is good and you can plug in your power tools.
Assembling the Desk Frame
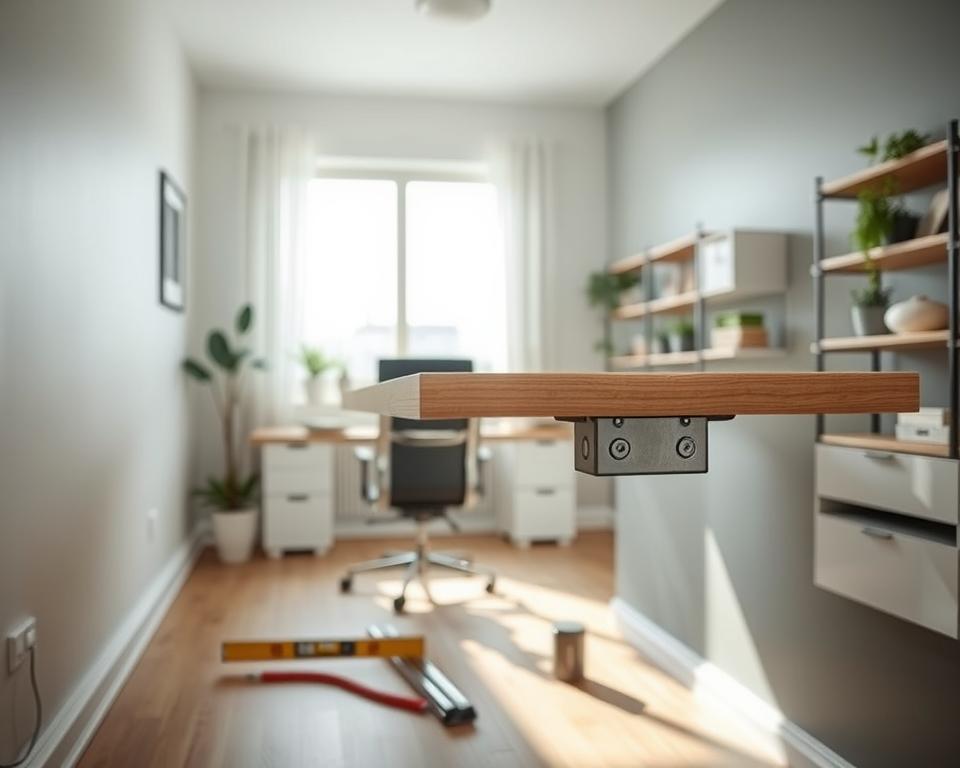
First, build the frame. Use pre-drilled holes to connect it strongly to the wall. Measure carefully and keep the frame square. This makes your desk strong and stable.
Mounting Your Desk to the Wall
Now, put the desk surface on the frame. Make sure it’s level and secure. This makes your desk safe and look great. Check everything is tight before using your desk.
By following this guide, you’ll build a great floating desk. It will be a stylish and useful addition to your room. Enjoy your new desk and the fun of making it!
Tips for Stability and Safety
When you create a floating desk, it’s not just about looks. Making sure it’s stable and safe is crucial. Choosing the right wall anchors is important for this. A stable setup is safer and makes your desk last longer.
Choosing the Right Wall Anchors
It’s important to pick wall anchors that can support your desk’s weight. The kind of wall you have affects which anchors to use. Below are some wall anchors to consider:
| Anchor Type | Weight Capacity | Best Used With |
|---|---|---|
| Toggle Bolts | Up to 100 lbs | Drywall |
| Masonry Screws | Up to 200 lbs | Concrete and Brick |
| Screw-in Anchors | Up to 50 lbs | Drywall or Plaster |
| Directly into Studs | Varies | Wood Walls |
Ensuring Proper Weight Distribution
To keep your floating desk safe, balance the weight right. Putting things evenly across the desk helps avoid too much stress on anchors. Here are helpful hints:
- Place heavier items closer to the center of the desk.
- Avoid overloading one side of the desk.
- Organize items based on weight to create balance.
Decorating Your Floating Desk
Making your floating desk look nice boosts both its look and your work output. Adding personal touches can create a welcoming and inspiring workspace. Picking the right accessories and smart desk organization ideas are key. They help make a space that shows off your personality and works well.
Personalizing with Accessories
Adding decorative items to your floating desk changes its appearance. You might use tiny planters with succulents or bright flowers to add life. Motivational quotes in chic frames can also inspire you every day. Trendy desk organizers keep important things handy and add style.
Organizing for Efficiency
Keeping your desk neat is essential for efficiency. Use trays to sort small stuff, so it’s easy to find. Drawer units hide papers or supplies, cutting down on mess. Following these tips will make your desk both functional and good-looking.
Common Mistakes to Avoid
When you’re making a floating desk yourself, you should dodge some common errors. These include estimating too much space and ignoring how strong your wall is. Knowing about these mistakes is key to a successful project.
Over-Estimating Your Space Needs
Many people dream of a big work area but often guess the size wrong. This can make the space too crowded and not very useful. It’s important to measure your space well and think about what you’ll need later. This way, your floating desk will make work better and more fun.
Neglecting to Check Wall Strength
Not checking if your wall is strong enough is a big mistake. If the wall is weak, your desk might fall or get damaged. Making sure your wall can hold the desk makes it safe and stable. Always double-check your wall’s strength before starting your floating desk project.
| Common Mistakes | Consequences | Solutions |
|---|---|---|
| Over-Estimating Space Needs | Cluttered workspace | Measure space accurately; plan layout |
| Neglecting Wall Strength | Instability or accidents | Check wall materials; use appropriate anchors |
Maintenance and Care for Your Floating Desk
Looking after your floating desk helps it stay useful and look good. By caring for it often, you make it last longer. Here are the main points for keeping your floating desk in top shape.
Cleaning Tips to Keep It Looking New
For your floating desk to keep its good looks, think about these cleaning desk tips:
- Choose a mild cleaner that’s right for your desk’s material.
- Always use a soft, lint-free cloth to avoid scratches.
- Clean the surfaces often to get rid of dust and dirt.
- Stay away from harsh cleaners that can ruin the finish.
Securing Loose Parts
Make sure all parts are tight to keep the desk stable. Loose screws or parts can make it less sturdy:
- Every month, check screws and brackets to ensure they’re secure.
- Fix any parts that aren’t lined up right.
- Using a thread-locking glue can also help keep things in place.
DIY Variations for Your Floating Desk
Making a floating desk lets you try out many ideas. You might like a simple look or something more elaborate. Adding different storage kinds means your desk fits your space just right.
Incorporating Storage Solutions
Adding storage to your desk boosts its usefulness. Think about shelves or drawers to keep things tidy. Here’s what you can do:
- Built-in shelves to hold books and decorative items.
- Side drawers for managing office supplies.
- Under-desk organizers to maximize vertical space.
Creative Design Ideas
Getting creative with your desk’s look makes it uniquely yours. Pick colors or shapes that match your room. Here are some ideas to spark your creativity:
- Opt for an L-shaped desk for corner spaces.
- Utilize dual-color schemes for a modern twist.
- Add hooks or pegboards for added visual interest.
Final Thoughts on Your Floating Desk DIY Project
Finishing a DIY floating desk project is truly fulfilling. While looking back, you might see how much you’ve grown and how creative you became during the design. This isn’t just a place to work; it’s proof of your hard work and commitment. Also, every unique desk has its own story, showing the power of DIY.
Think about sharing your floating desk ideas with others. By showing off your work, you might encourage those around you to start their own DIY projects. This creates a community that values creativity and teamwork. Someone out there could have a brilliant idea waiting to be discovered!
Your DIY floating desk is a symbol of creativity and hard work. Be proud of what you’ve created. By sharing it, you can inspire others and become part of a larger community of creators and innovators.