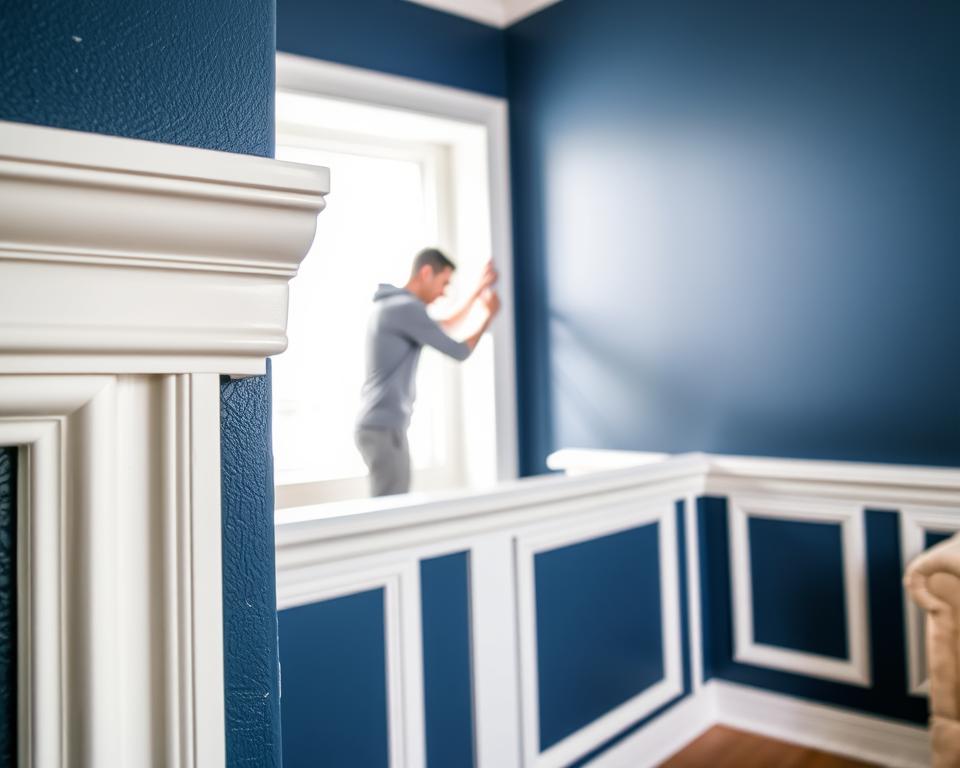
Did you know adding an accent wall can boost your home’s look by up to 15%? Accent wall molding is an easy way to make your space better and stylish. In this beginner’s guide, you’ll find DIY tips to change any room with confidence and creativity.
With just some materials and tools, you can make an impressive focal point. It will show your personal style, be it traditional or modern.
Key Takeaways
- Accent wall molding is a cost-effective way to enhance home aesthetics.
- This project can be completed by DIY beginners with the right guidance.
- Selecting the right material can significantly impact your design’s look.
- Proper tools ensure a smoother installation process.
- Preparation before installation is key for a flawless finish.
- Maintenance helps in preserving the beauty of your accent wall molding.
What is Accent Wall Molding?
Accent wall molding adds visual interest and depth to a room. It uses decorative wood or foam strips on walls for style. Homeowners use this to highlight areas or contrast the wall color. It shows how small changes can make a room look better.
Benefits of Accent Wall Molding
Using accent wall molding has many benefits. It adds texture and class without big renovations. It makes the design look better and is cost-effective for refreshing a room. These details make a home more welcoming and unique.
Different Styles of Accent Wall Molding
Many styles of accent wall molding exist, each with its own look. Popular types include:
- Shiplap: Gives a rustic, farmhouse feel.
- Board and Batten: Vertical strips for a modern look.
- Geometric Patterns: Picture frame molding adds intricate designs.
Picking the right style of accent wall molding can boost a home’s decor. It makes the place more attractive and full of personality.
Choosing the Right Material for Your Project
Choosing the right material for accent wall molding is key to the project’s success. It changes the project’s look and feel. Knowing the differences in materials helps make a choice that fits your needs.
Wood vs. MDF vs. PVC
Wood and MDF both have their upsides for molding. Wood offers a timeless, natural look that beautifies any space. But, certain types like oak or cherry, can get pricey and need more care. MDF is less expensive and has a smooth finish, ideal for intricate designs and paint.
PVC is also a good option, especially in wet areas. It fights off mold and lasts long in damp places.
Cost Considerations
Thinking about cost is important when planning for accent wall molding. The price varies with the material, project size, and installation tools. Wood tends to be pricier, costing between $120 to $200 for typical projects.
MDF is more affordable and still delivers quality. Don’t forget to include the price of tools in your budget.
https://www.youtube.com/watch?v=Vi43ZkPRxPk
Tools You’ll Need for Accent Wall Molding
Starting a DIY project for accent wall molding needs careful planning, especially in choosing the right tools. The correct tools for accent wall molding DIY make your job smoother and help your wall look expertly done. Knowing which tools are must-haves and which are nice-to-have is key to success.
Essential Tools
Here are the main items you’ll need to begin:
- Miter Saw: Perfect for making precise cuts at different angles.
- Measuring Tape: Makes sure your measurements are spot-on.
- Nail Gun: Makes the whole process much faster.
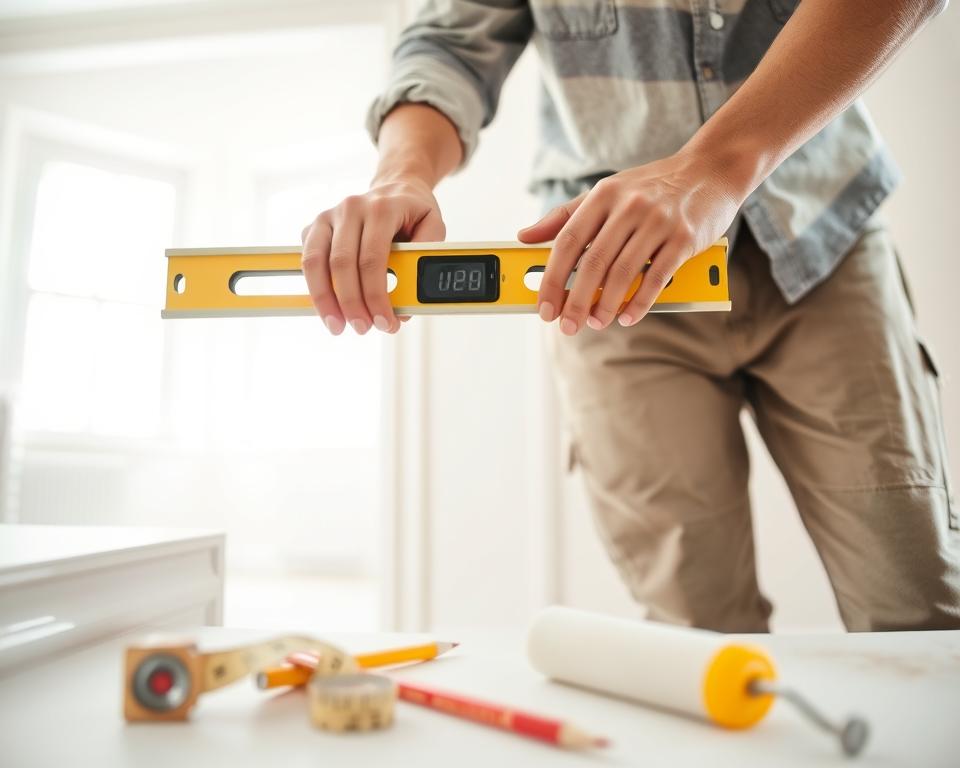
- Level: Ensures everything is evenly lined up.
Having these essential tools for molding installation will lay a strong foundation for your project. They make it easier to get the desired outcome.
Optional Tools for Enhanced Finishing
For adding those special touches, think about these additional tools:
- Caulking Gun: Seals the gaps for a smooth finish.
- Sanding Tools: Smooths out the edges for a better look.
Using these optional tools for finishing accent wall molding can add finesse to your work, giving it a pro feel. Investing in the correct tools enhances the quality and speed of your project.
Preparing Your Wall for Molding Installation
Before you start on your accent wall molding, you have to prepare your wall. This first step makes sure you have a clean, strong surface that makes your project look better. Clean the surfaces to get rid of dust and debris. Then make careful measurements and marks for a stylish design.
Cleaning and Repairing the Surface
Start by cleaning the wall well for the molding. Wipe it down with water and a soft cleaner to remove dirt and grease. Look for any wall damage like holes or cracks. Fill them with spackle or drywall filler to make the wall smooth for the molding.
Measuring and Marking Layout
After cleaning and repairing the wall, it’s time to measure and mark it for the molding. Getting the measurements right is very important. Use a tape measure for the lengths and heights you need. Then, use painter’s tape or a pencil to draw your design on the wall. This guide helps you place the molding correctly and ensures a neat finish.
Step-by-Step Installation Process
Installing accent wall molding needs careful planning and step-by-step action. Follow these easy steps for a professional-looking finish. Start by cutting the molding for your accent walls. Make sure each piece fits well before you go on to the next part.
Cutting and Fitting the Molding
Kick off the installation with precise measurements. Use a miter saw for making perfect cuts and angles. This lets the pieces join nicely at the corners. A stop block is handy for keeping each piece the same length, reducing mistakes. Once you cut the molding, check if it fits well on the wall. Make adjustments so that everything lines up right.
Attaching Molding to the Wall
When you’re sure about the fit, start attaching the molding to the wall. Begin at the bottom and move upwards, ensuring each piece is level. A brad nailer can securely attach the molding, giving it a neat look. To make everything look even better, caulking the seams can fill any gaps. But, only use construction adhesive if you’re sure about your design choice.
Painting and Finishing Your Accent Wall
Choosing the right paint can make your accent wall pop. The color and finish are key to bringing your room to life. When picking paint for molding, find colors that match the room’s feel. Go for satin or semi-gloss finishes because they last long and are easy to clean.
Selecting the Right Paint
Starting your accent wall project needs careful thought. Pick colors that go well with your room and think about the best finish. Acrylic latex paints are great because they’re strong and can breathe. Always test your paint in a small spot to check it against the room’s light.
Tips for a Flawless Finish
For a perfect finish, preparation and technique matter. Begin with a suitable primer for your paint type. Then, paint at least two coats, letting each dry well. Using top-notch brushes or rollers helps get a smooth coat. Focus on corners and edges to get a neat finish on molding.
Tips for Creating a Cohesive Look
Creating a cohesive look in your space depends on a few key factors. Style, color, and decor consistency are important. These tips will help you get a design that looks great and fits well with your room’s overall theme.
Matching Molding with Room Style
When choosing molding, think about the room’s design elements. For modern rooms, go for sleek and simple molding. Traditional rooms, however, might look better with ornate designs. This ensures the molding enhances the room’s look.
Incorporating Decor Elements
Incorporating decor elements with your accent wall is key. Mix accessories like artwork, mirrors, or furniture with the molding. This creates a welcoming space. For instance, pairing wall art with molding can make your design stand out beautifully.
| Element | Tip |
|---|---|
| Color Scheme | Choose a color palette that resonates with both the molding and decor |
| Molding Style | Select a style that complements your overall room design |
| Decor Choices | Use accessories that match or contrast harmoniously with your molding |
| Furniture Arrangement | Position furniture to highlight both the accent wall and molding features |
Common Mistakes to Avoid
Starting a DIY accent wall molding project? It’s key to avoid common mistakes. Knowing what to dodge helps you nail that flawless finish without setbacks.
Overestimating DIY Skills
A lot of DIYers think they’re pro-level and jump into complex projects. This overconfidence can lead to frustration and not-so-great results. Be truthful about your skills. Simple projects might be fun and rewarding, but for the tough stuff, sometimes it’s better to call in a pro.
Neglecting Measurements
Measurements are super important for a successful project. Skipping this step can make spacing and alignment go wrong. Always measure precisely for your accent wall molding. Remember, measure twice and cut once for accuracy and to avoid errors.
Maintaining Your Accent Wall Molding
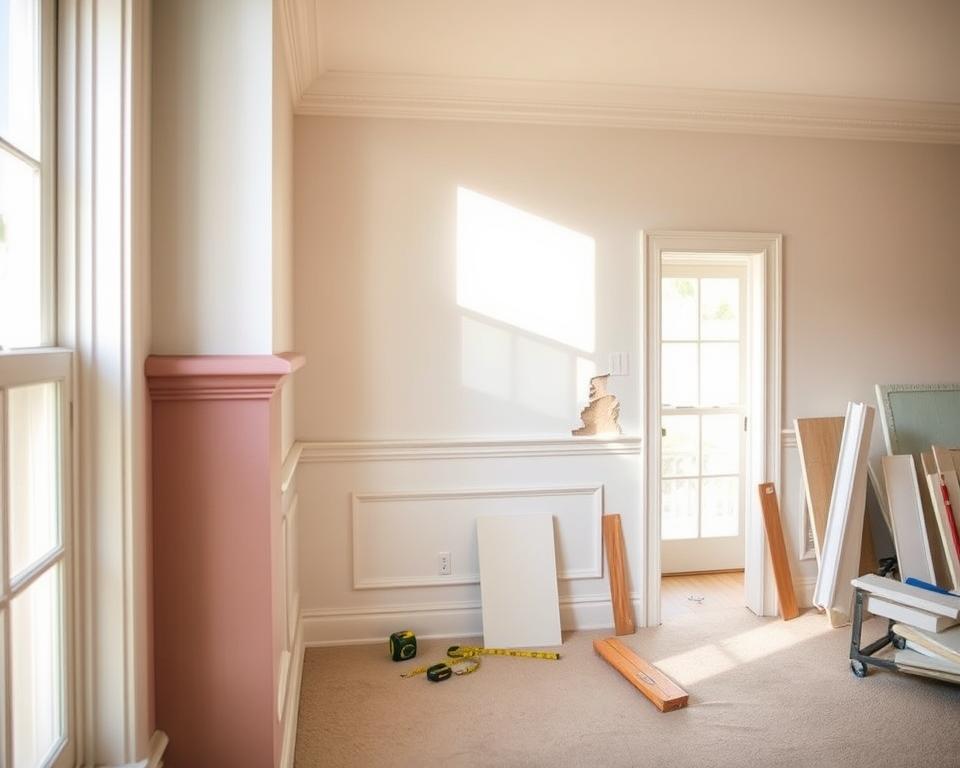
It’s key to keep your accent wall molding looking great in your home. To ensure it looks inviting, it’s important to keep it clean. By doing so, you can make it last longer and avoid having to fix or replace it.
Cleaning and Care Tips
Cleaning your molding gently is the way to go. Dust it often with a soft cloth to prevent the buildup of grime. If you need to do a deeper clean, a damp cloth with a bit of soap works well. Make sure to dry it well to stop moisture from causing issues. For small stains or marks, a simple cleaner is usually enough without needing to repaint.
When to Restain or Repaint
There will be times when your molding needs a new look. This might be when the paint begins to chip or the color starts to fade. Check your molding every few years. This keeps it looking lovely and helps it match the rest of your room.
| Maintenance Task | Frequency | Notes |
|---|---|---|
| Dusting | Weekly | Use a soft cloth to prevent scratches. |
| Deep Cleaning | Monthly | Mild soap solution should be used. |
| Inspection for Damage | Every 2-3 years | Look for chips and fading paint. |
| Restaining/Repainting | As needed | Consider updating if significant wear is visible. |
Accent Wall Molding Ideas for Different Rooms
Accent wall molding makes any room look better. It lets homeowners show their creative side. You can pick from many styles to make your living room, bedroom, or home office uniquely yours. Choose themes and colors that reflect your style, but keep a consistent look throughout your home.
Living Room Inspirations
In the living room, go for bold and eye-catching accent wall moldings. You could use geometric shapes or strong contrasting colors to turn a simple wall into something amazing. Adding different heights with molding creates depth and a welcoming space for friends and family.
Bedroom Styles
For the bedroom, think about using softer accent wall styles with pastel colors or detailed designs. Patterns that are not too bold or moldings that are fine and elegant can bring calm and relaxation. This makes your bedroom a perfect place to rest. Adding lights to highlight the molding can offer a soft glow at night.
Home Office Options
In your home office, the right accent wall molding can help you stay focused. Choose simple, clean lines with subdued colors. This avoids distractions. Moldings that outline a bookshelf or desk can make the area look neat. This helps you work better while keeping the office stylish.
| Room Type | Recommended Molding Style | Color Suggestions |
|---|---|---|
| Living Room | Geometric Shapes | Bold and Bright |
| Bedroom | Intricate Patterns | Pastels |
| Home Office | Sleek Lines | Muted Tones |
Conclusion: Make Your Accent Wall Stand Out
Finishing your accent wall molding project is a big step in your DIY path. It shows your creative vision and the effort you’ve made. Every brushstroke and cut adds a special touch that makes your home more charming.
Sharing your DIY accent wall creations can inspire others. Post photos on social media or DIY forums to encourage others. This helps build a community that values beautiful living spaces.
Looking at your updated space, feel proud of the skills you’ve learned. This journey isn’t just about a beautiful wall, but also about personal growth. Every project brings more than a nicer home. It brings a sense of achievement and creativity.