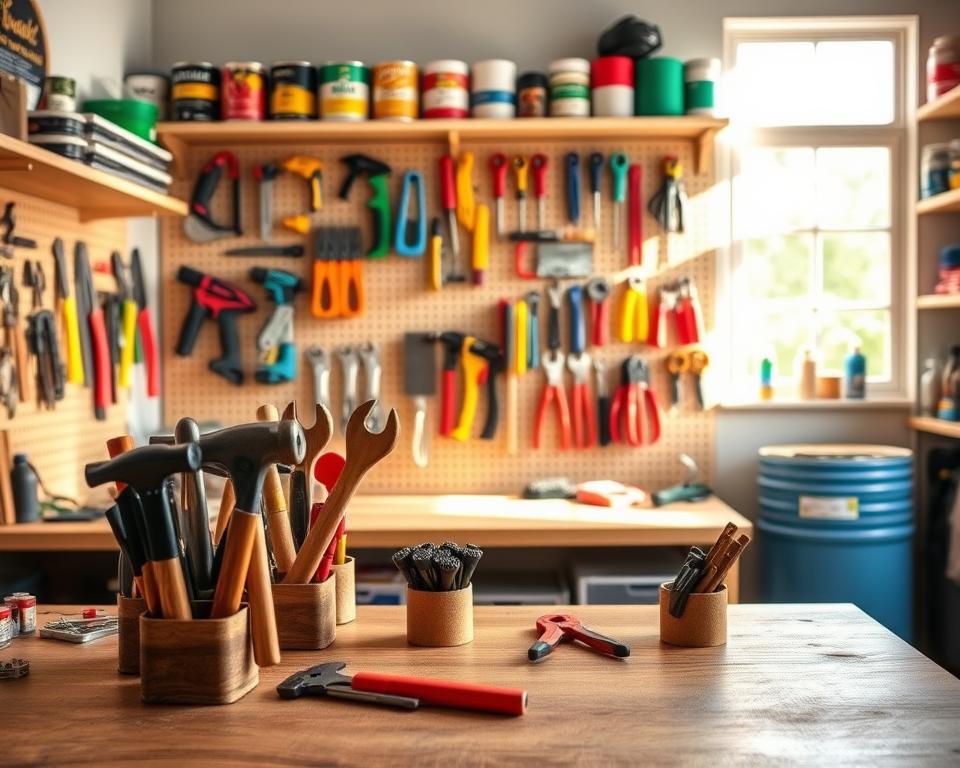
Did you know that 80% of DIY fans feel more productive with organized tools? If searching through mess for tools frustrates you, you’re not alone. A DIY tool wall organizer can change your space. It keeps tools in place and clears up the clutter in your garage or workshop. Doing it yourself means you can make it fit your needs perfectly. Ready to upgrade your workspace?
Key Takeaways
- Organizing your tools can greatly enhance productivity.
- A tool wall organizer helps keep essential tools within reach.
- DIY projects offer a tailored solution to fit your workspace.
- Wall-mounted storage saves valuable floor space.
- Customized designs can reflect your personal style.
Why You Need a Tool Wall Organizer
Having your tools organized can change how you feel about your DIY projects. It makes sure you can quickly find what you need, boosting how much you get done and cutting down on stress. Everyone from weekend hobbyists to professional builders will find tool storage ideas helpful.
Benefits of Organizing Your Tools
Organized tools mean a safer work area. You’ll avoid accidents from tools left out. Better organization leads to finishing projects faster, giving you more time for being creative. By sorting your tools well, you can easily pick the right one for the job.
Maximizing Space in Your Workshop
Your work area should fit all your tools comfortably. By using wall space for storage, you can keep your garage or workshop tidy and efficient. Using things like pegboards and shelves adds storage and keeps your floor clear. This makes your workshop both functional and good-looking.
Materials You’ll Need for Your Project
To create a DIY pegboard for organizing tools, you need to pick the right stuff. By choosing the best parts, your workspace will look great and work well. You need the right tools for building and the best materials so your tool rack lasts.
Essential Tools for Building
- Drill: A versatile tool for creating holes to mount your pegboard or tools.
- Saw: Use a saw to cut materials to the correct dimensions.
- Level: Ensure your installation is straight and properly aligned.
- Screwdriver: Handy for securing fasteners and assembling components.
- Tape Measure: Accurate measurements are key to a well-organized tool wall.
Recommended Materials for Durability
Picking durable materials is key to making a long-lasting tool hanger. Here are some top picks:
| Material | Benefits |
|---|---|
| Hardwood | Strong and durable, excellent for heavy tools. |
| plywood | Good balance of strength and weight, easy to work with. |
| Metal Hooks | Sturdy and reliable for hanging various tools. |
| Paint or Stain | Protects wood while adding an appealing finish. |
By adding these elements to your pegboard project, you get a custom setup that’s both useful and stylish. Get creative as you build your tool rack. This will keep your tools tidy and easy to find.
Planning Your Tool Wall Layout
To start making a wall-mounted tool storage, first understand the space and tools you have. Planning your DIY workshop helps it work better and makes tools easy to find. Think about what kinds of tools you’ll store and how big they are to make a good plan.
Assessing Your Space and Tools
First, look at the wall space you have for tools. Measure its height and width to see how much space is there. Then, take a look at your tools. Sort them by size or type and figure out which ones you use a lot. This helps you decide where things should go so you can get to your important tools easily.
Creating a Functional Design
After figuring out your space and sorting your tools, design your layout. Imagine putting bigger tools at eye level so they’re easy to grab. You can put smaller tools lower or with bins. Use different ways to hang stuff, like shelves, hooks, and pegboards, to make a useful and good-looking DIY workshop. A smart layout makes your work go smoothly and keeps your space tidy.
Step-by-Step Instructions for Building
Want to build a wall-mounted tool storage? Start with a good plan and the right steps. This will help you organize your tools in a DIY style, making your workspace better. Make sure you have all your materials ready before you start.
Preparing Your Wall for Installation
First, pick the wall for your tool organizer. Make sure it’s clear of anything that might be in the way. Measure how much space you have. Then, use a level to make sure your lines are straight. This makes sure your tool storage hangs right.
Assembling the Organizer
Next, get your wall ready, and put your organizer together on a flat surface. You’ll need a drill, saw, and screws. Cut everything to size based on your plan. Make sure to securely attach all shelves and hooks to avoid accidents.
Installing the Organizer on Your Wall
Now, put the organizer up on your wall. Line it up with the earlier marks. Secure it with a drill, making sure it’s level. A well-installed organizer means your tools will be stable and easy to reach.
How to Customize Your Tool Wall
Creating a tool wall organizer lets you show off your creativity. You can make a workspace that fits your needs and shows your style. Using garage tool storage ideas creatively offers not just organization but also a chance to make your mark.
Adding Personal Touches
Add unique labels or interesting hooks to make your tool wall stand out. Using unique materials for creative options like old wood or bright plastics makes the space intriguing and useful. Playing with your favorite colors can make your workspace look and feel better.
Using Color and Themes
Choosing the right colors for your wall organizer is key. Pick colors that make your space lively and match your tools. A unified theme, like a vintage look with classic hooks and wooden shelves, brings everything together. Let your imagination guide you in picking colors and themes that work best for you and your tools.
| Customization Ideas | Materials | Benefits |
|---|---|---|
| Color-coded sections | Spray paint, colored labels | Easier tool identification |
| Personalized tool hooks | Wood, metal, plastic | Enhanced organization |
| Themed decor | Graphics, artwork | Aesthetic appeal |
| Unique shelving | Reclaimed wood, metal | Stylish and functional |
Common Mistakes to Avoid
Starting your DIY workshop organization journey? Know that being aware of common mistakes is key. A big mistake is measuring wrongly. This can mess up your wall-mounted tool storage. Correcting this takes care and close attention. Another mistake is not properly sizing up your tools, which messes with storage space.
Improper Measurements
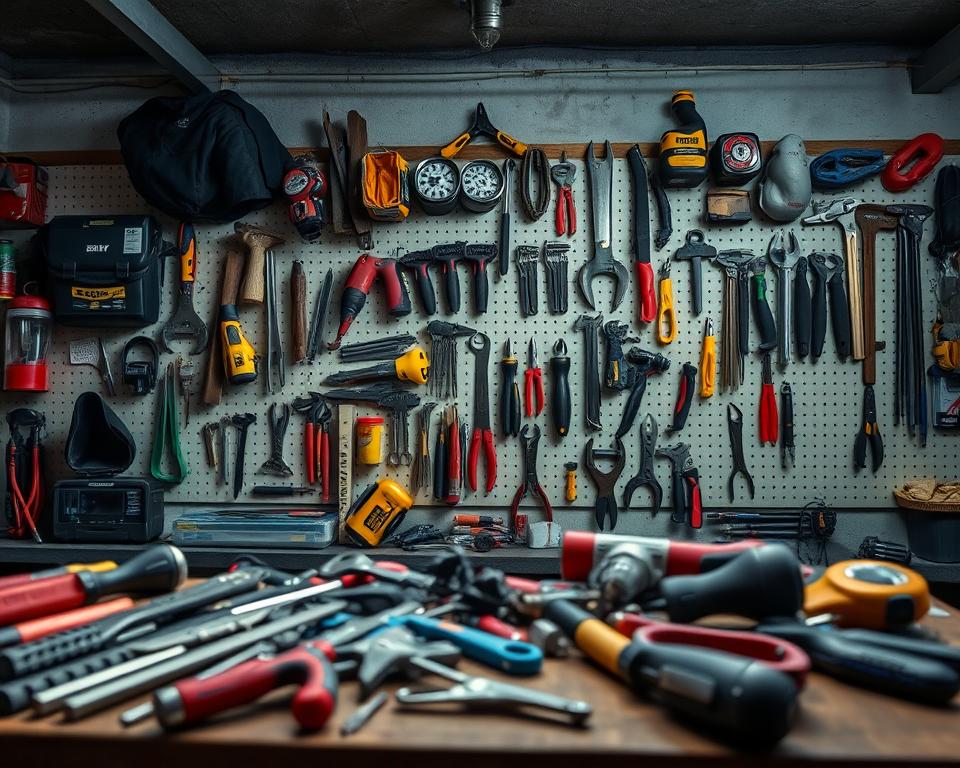
Measuring your space right is vital for a tool wall. Accurate measurements keep your DIY workshop organized. Wrong measurements mean tools might not fit or leave no room for new ones.
To avoid these errors, always double-check your measurements. Think about making a template before you start putting things up.
Underestimating Tool Size
Tools come in different sizes, and thinking they’ll all fit perfectly can cause problems. Make sure to check the size of your tools, attachments included. Knowing their size helps you plan your wall-mounted tool storage better.
| Mistake | Impact | Solution |
|---|---|---|
| Improper Measurements | Poor fit for tools | Double-check dimensions |
| Underestimating Tool Size | Inefficient storage | Account for tool dimensions |
Avoiding these mistakes improves your DIY workshop organization. It also makes your storage more effective. Being proactive creates a better workspace. It shows planning carefully and working hard pays off.
Best Practices for Tool Organization
Organizing tools well makes your DIY projects both fun and productive. It’s important to come up with smart ways to store tools. A good setup means you can find what you need fast when working on projects.
Categories for Tool Grouping
Sorting tools into categories makes them easier to find. Think about organizing them by:
- Type: Hand tools, power tools, garden tools, etc.
- Frequency of Use: Tools you use all the time versus those you rarely need.
- Project Type: Group tools based on the kinds of projects you do most.
Setting up these categories helps cut down the time you spend looking for tools. This makes your workflow smoother.
Tips for Long-Term Maintenance
Keeping your tool wall organized is just as key as setting it up. Here are some tips:
- Check your tool organization layout regularly to make sure it still works for you.
- Have a cleaning routine to keep dust and debris away from your tools.
- Go over your tool categories now and then, especially as you get more tools.
Ideas for Decorative Tool Wall Organizers
Make your tool wall not just useful, but also attractive. Use special materials and decorations for a creative workspace. It can reflect your style and still be great for storage.
Unique Materials for Creative Options
Try different materials to make your tool wall stand out. Reclaimed wood adds a cozy, rustic feel. Metal touches offer a clean, modern vibe. Here are some ideas:
- Reclaimed wood from pallets or old furniture is eco-friendly.
- Corkboard tiles let you pin notes or reminders next to tools.
- Magnetic strips can hold metal tools and keep things neat.
- Acrylic or plexiglass panels give a modern flair and show off your tools.
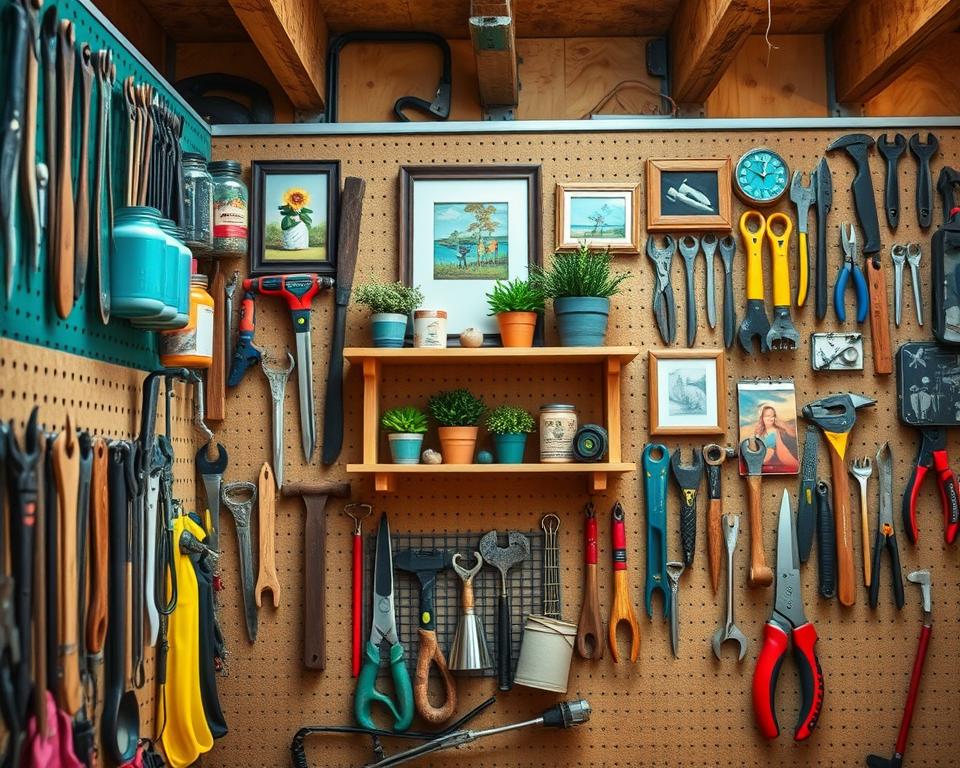
Incorporating Artwork and Decor
Art and decor can make your tool wall lively and inspiring. This not only looks good but can also make you more productive. Here’s what you could include:
- Framed art or prints that motivate you while working.
- Shelves with small plants or decor to break up the industrial look.
- Custom signs or labels for a personal touch or better organization.
Frequently Asked Questions
Creating a tool wall organizer is a smart move for DIY lovers. It’s important to know the costs, which change based on design, materials, and how complex it is. Beginners often look for easy starter kits to help them get set up quickly.
How Much Does It Cost to Build One?
The cost to make a tool wall organizer varies a lot. On average, it can be between $50 and $300. This depends on the materials used and the design’s complexity. Choosing cheaper materials and simpler designs can help save money. Many DIY storage solutions are affordable without losing quality.
What Tools Are Best for Beginners?
If you’re new to DIY, picking the right tools is essential. Beginners should have:
- Hand saw or a circular saw
- Drill and drill bits
- Level
- Tape measure
- Screwdriver set
These tools work well with many beginner kits and make setting up a tool wall easier. As you get more into DIY, your tool collection will grow, and you’ll tackle more complex projects.
Inspiring Examples of Tool Wall Organizers
Seeing others’ workspace transformations can spark your creativity for a tool wall organizer. Many have taken tool organization further, blending function with personal style. These range from rustic boards to modern designs, showing endless possibilities for a tidy, efficient workspace.
Real-Life DIY Projects
People share their garage organization stories on social media, showing unique tool organization methods. Some use pegboards with hooks and shelves for different tool sizes. Others prefer adjustable crates and racks for growing collections. These ideas make workspaces easy to use and personal, encouraging many to start their DIY projects.
Innovations in Tool Organization
Tool organization is constantly evolving with new materials and methods. Magnetic strips are now a favorite for keeping metal tools in place, while elegant wood finishes make workshops look great. These innovations mix functionality with creativity, allowing for a practical yet attractive workspace. Using these ideas, you can create a tool wall that meets your needs and inspires others.