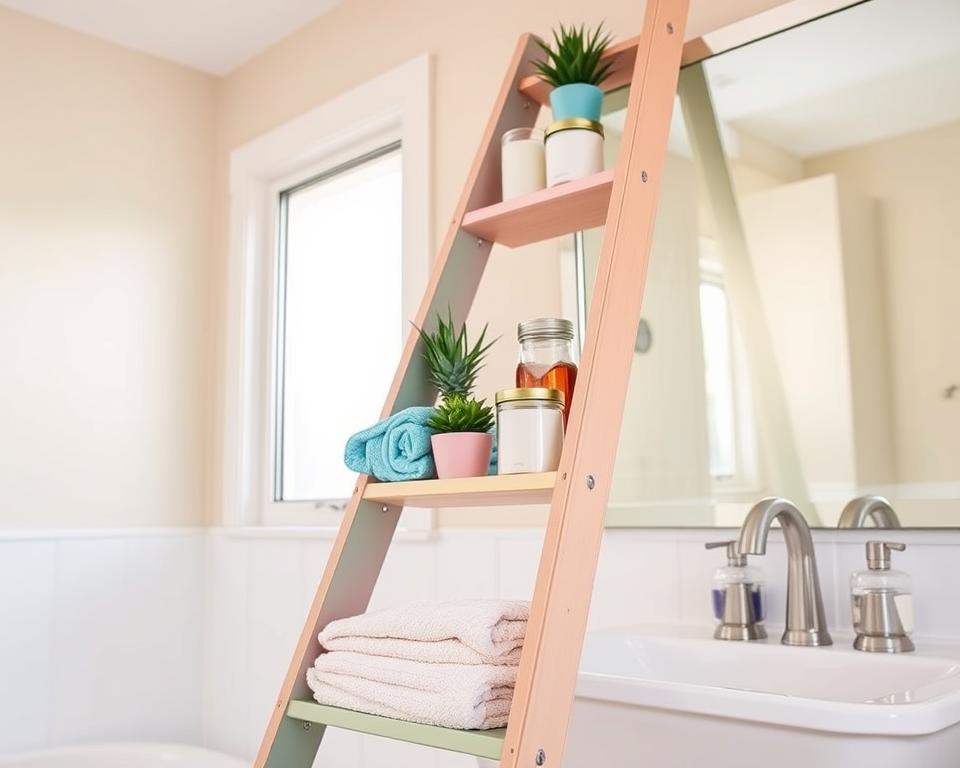
Did you know the average American bathroom is only 8 square feet? This small space often gets cluttered. But, a bathroom shelf ladder can change that! Making a DIY bathroom ladder shelf lets you use more vertical space. This guide will show you how to make it and customize it for your home. It’s a great project for anyone who wants to improve their home. Let’s start making your own bathroom ladder shelf!
Key Takeaways
- A bathroom shelf ladder provides functional storage in limited space.
- DIY bathroom ladder shelves allow for customization to fit your decor.
- Building your own shelf can be a rewarding weekend project.
- Maximizing vertical space effectively reduces clutter.
- Homemade bathroom ladder shelves can enhance the aesthetic appeal of your bathroom.
What is a Bathroom Shelf Ladder?
A bathroom shelf ladder is a smart way to keep things tidy while adding style to your bathroom. It leans against the wall and has several levels for storage. It’s the perfect piece for small bathrooms that need more space. You can easily find a design that fits your style and helps keep things organized.
Overview of Bathroom Shelf Ladders
Bathroom shelf ladders are available in many sizes and styles. They offer space for towels, toiletries, and decor. This makes them a must-have for a neat bathroom. With so many styles available, from wooden to modern, finding the right one is easy.
Benefits of Using a Ladder Shelf
Ladder shelves are great for saving space and keeping things within reach. They’re versatile and can fit in many spots. Plus, they make your bathroom look better. A ladder shelf is a stylish way to stay organized.
Tools and Materials Needed
Starting a bathroom ladder shelf project means you need the right tools and materials. Having the right gear helps make the job smoother and more fun. Here’s a list of what you need to make a great DIY bathroom storage space.
Essential Tools for the Job
- Jigsaw: Perfect for cutting wood pieces with precision.
- Brad Nailer: A handy tool for quickly joining parts together.
- Sandpaper: Necessary for finishing the surfaces to a smooth touch.
- Measuring Tape: Ensures you get accurate dimensions for your design.
- Level: Guarantees that your shelf stands straight and true.
Recommended Materials
- 2×3 Lumber: Great choice for constructing a sturdy frame.
- Plywood: Ideal for building the shelves that provide ample space.
- Danish Oil: An effective way to enhance wood’s appearance while adding a layer of protection.
Choosing quality materials is key to your shelf’s durability. Make sure everything you use for your bathroom ladder shelf project is top-notch for lasting results.
Choosing the Right Design
Choosing the right bathroom ladder shelf design is very important. The style affects both its use and looks. There are many options, so looking at popular styles and customizing them is a good idea. This helps make a shelf that fits your bathroom perfectly.
Popular Styles for Bathroom Shelf Ladders
There are a few popular styles for bathroom ladder shelves. Rustic ones, made from old wood, add charm and warmth. Modern designs are simple and sleek, great for newer bathrooms. Farmhouse styles mix old and new, with cozy textures and modern touches.
Customizing Your Design
You can make your bathroom ladder shelf special by adding personal touches. You could change the size to fit your space better or add hooks for more storage. Choosing colors that match your bathroom makes the shelf not only useful but also nice to look at. Thinking of ideas that match your taste will result in a unique piece you’ll love.
Preparing Your Space
To start your bathroom ladder shelf project, make your space cozy and workable. Know your space size and make sure the shelf fits your decor. It should look good and be useful without upsetting your bathroom’s style.
Measuring Your Bathroom Area
First, measure your bathroom where you’ll put the ladder shelf. Look at the height, width, and depth you have. Here’s what to check:
- Find the best spot for your shelf on the wall.
- Make sure pipes and fixtures won’t be in the way.
- Check that the shelf won’t block any doors.
Accurate measurements are key to making your project work.
Considering Your Decor
Now, think about how your shelf will match your bathroom’s look. Look at colors, materials, and style for a nice blend. Here are some ways to make it look great:
- Pick a wood finish or paint that goes with what you have.
- Add decorations that show your personal taste, like plants or bright towels.
- Make sure the shelf’s size fits well in your bathroom.
Keep these ideas in mind to create a beautiful ladder shelf that improves your bathroom.
Step-by-Step Instructions
Making a DIY bathroom ladder shelf is fun. Just follow these easy steps to build a durable and good-looking shelf. It will fit perfectly in your bathroom.
Building the Base of the Shelf
First, measure and cut your wood for the base. Pick strong lumber to support the weight. Put the base together with screws, making sure it’s square and solid. A strong foundation is key for a great bathroom shelf ladder.
Adding the Ladder Rungs
With the base done, add the ladder rungs evenly. This makes it easy to space out towels or bathroom items. Ensure the rungs are straight by using a level when you attach them.
Securing the Shelf to the Wall
Once your shelf is built, anchor it to the wall for safety. Choose the right wall anchors and screws for your wall. This step is very important. It keeps the shelf from tipping in a damp bathroom, making sure your DIY shelf is both safe and useful.
Finishing Touches
Getting to the final step of your bathroom ladder shelf project is crucial. It makes the whole project look polished and professional. Paying attention to details during this stage can significantly enhance the shelf’s look and longevity.
Sanding and Staining Your Shelf
Start by giving your shelf a good sanding. This makes the surface smooth and ready for finishing. You should use fine-grit sandpaper for this task. Then, a stain like Watco Danish Oil can bring out the beauty of the wood. It adds color and highlights the wood’s natural patterns.
Adding Protective Coatings
It’s important to protect your shelf with a finishing coat after staining. A polycrylic finish works great in damp areas like bathrooms. It not only protects the wood but also fights off daily wear and tear.
| Finishing Methods | Description | Benefits |
|---|---|---|
| Sanding | Using fine-grit sandpaper to smooth the wood surface. | Enhances paint or stain adherence, creating an even finish. |
| Staining | Applying a wood stain like Watco Danish Oil for color. | Highlights the wood grain, adding depth and visual appeal. |
| Protective Coating | Sealing the shelf with polycrylic for moisture resistance. | Prevents damage from humidity, ensuring shelf longevity. |
Tips for Decorating Your Ladder Shelf
Turning your bathroom ladder shelf into a standout piece is easy. It not only makes the space look better but also more functional. Here are tips to make it welcoming and tidy.
Using Baskets and Containers
Adding stylish baskets or containers is a great move. They’re useful and add beauty. Pick ones in wicker or metal to match your bathroom’s theme. This lets you hide stuff while keeping everything looking good.
Arranging Towels and Accessories
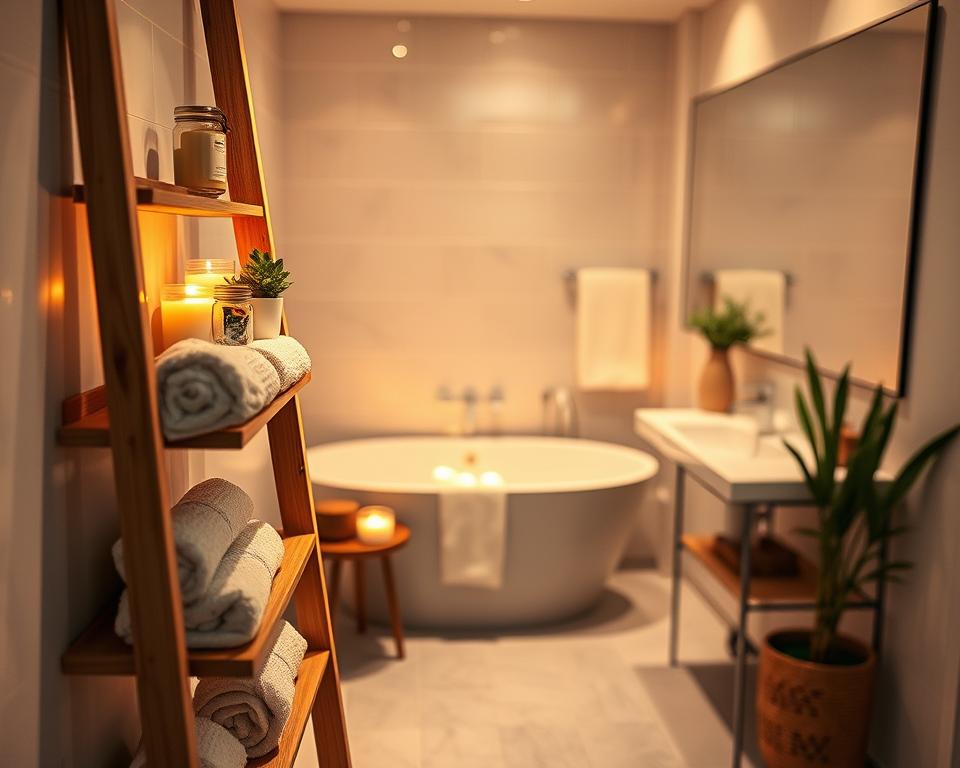
Neatly folded towels and well-placed accessories add life to your shelf. Try placing big items at the bottom and small ones above. Your towel display can make your bathroom feel like a spa. Adding plants or photos makes it even nicer.
Safety Considerations
When making your bathroom shelf ladder, putting safety first makes sure it’s both useful and safe. Think about stability and how much weight it can handle.
Ensuring Stability of the Shelf
For the shelf ladder’s safety, it’s key to attach it well to the wall. This stops it from tipping over. Always check to keep fasteners and supports tight. Use wall anchors suited for the shelf’s weight, especially in busy spots.
Weight Limits to Keep in Mind
Knowing the weight limits for bathroom shelves is crucial for safety. Different shelves hold different amounts, as the maker will tell you. Going over these limits could cause the shelf to fall. Regularly check and adjust what’s on the shelf to prevent too much weight. This helps keep your shelf ladder safe and lasting.
Maintenance and Care
Keep your DIY bathroom ladder shelf in good shape with regular maintenance. Clean often and check it over to make sure it lasts longer. Here are important tips for keeping your ladder shelf great.
Regular Cleaning Tips
Clean your ladder shelf often to keep it looking new. Dust off the surfaces with a soft cloth to avoid buildup. Use a slightly wet cloth and mild soap for a more thorough clean. Don’t let the wood get too wet to prevent damage.
Inspecting for Wear and Tear
Check your shelf regularly for any wear or damage. Look out for loose parts or water damage signs. Fixing these problems fast helps keep your DIY ladder shelf in top shape. Regular checks ensure it stays strong and safe.
Alternative Uses for Ladder Shelves
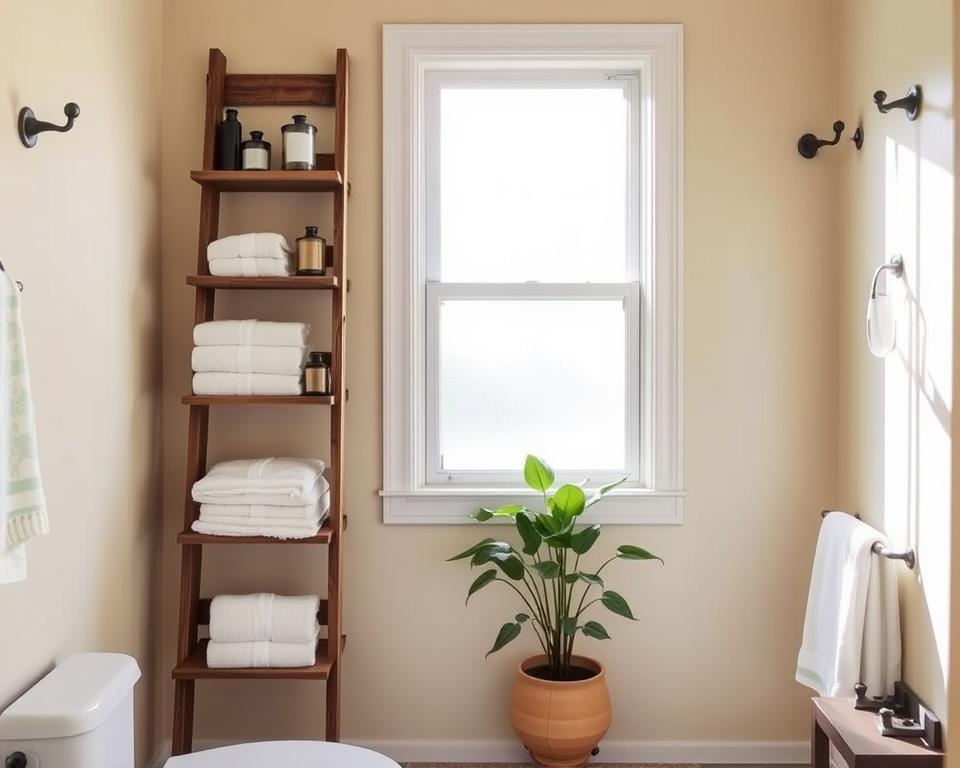
Ladder shelves are not just for bathrooms. Their good looks and handy design fit well in many spots at home. From the living room to the kitchen, ladder shelf ideas are abundant. They change a room by adding both function and beauty.
Beyond the Bathroom: Other Ideas
Consider putting ladder shelves in various rooms. In the living room, they’re great for books or showing off decor. In the kitchen, they can keep cookbooks and essentials within reach, adding style and usefulness. Plus, in the entryway, they help organize keys, shoes, and bags, making the area look neat.
Seasonal Decor Options
Ladder shelves are perfect for showcasing seasonal decor. Changing items with the seasons refreshes your room’s look easily. For instance, you might display pumpkins in fall or use them for holiday decorations in the winter. This keeps your home feeling fresh and festive all year round.
| Room | Uses | Decor Tips |
|---|---|---|
| Living Room | Bookcase, Display Shelf | Mix books with plants for a fresh look |
| Kitchen | Storage for Cookbooks, Organizing Utensils | Add jars for kitchen tools or spices |
| Entryway | Organizer for Keys and Shoes | Incorporate baskets for a tidy space |
| Seasonal Decor | Showcasing Holiday Decorations | Change items for each season to keep it lively |
DIY Variations
Trying out DIY variations for your bathroom ladder shelf adds a unique touch and supports recycling. Using old wood and upcycled items can make your project look great and work better. Here are some fun ideas to help make your project one-of-a-kind.
Using Reclaimed Wood
Reclaimed wood can make your bathroom ladder shelf special, adding a bit of history and personality. This choice is good for the planet and lets you make something beautiful without harming nature. Find local shops that sell old wood pieces to get materials that match your taste. Mixing woods or using one type, each piece has its own story, making your bathroom look charming.
Upcycling Household Items
Start looking at home for things you can turn into your bathroom ladder shelf. Things like old boxes, wooden pallets, or even antique suitcases can become parts of your shelf. This approach not only saves money but also gives your project an exceptional feature. Let your imagination run wild, explore your home, and find hidden gems that can become a beautiful bathroom ladder shelf.
Conclusion
Creating your own DIY bathroom ladder shelf is easy and rewarding. It makes your bathroom look better and gives you extra space for storage. This guide has shown you every step needed, from picking a design to adding the final touches.
This shelf not only saves space but also lets you show off your style. By decorating and customizing, you turn your bathroom into a special place. Just follow the guide, and you’ll quickly see the difference it makes.
So, grab your tools and materials, and get started! With a bit of effort, you can add a stylish and useful piece to your bathroom. It will show off your personal touch.