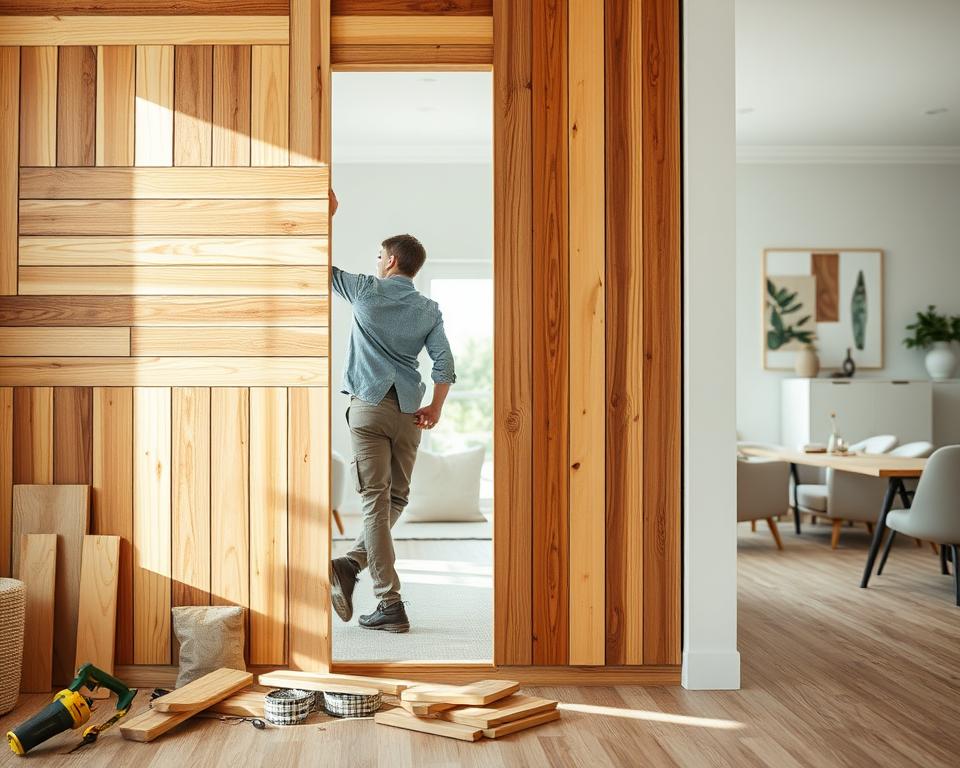
Did you know that 62% of homeowners are now choosing wood slat walls to make their spaces more stylish? This trend is making living areas more inviting with its charm and texture, from trendy apartments to snug homes. Taking on a wood slat wall DIY project can really change up your space, adding your own unique touch. If you’re thinking about making a DIY wood feature wall or just want to update a room, this guide will help you plan and do it right.
Key Takeaways
- Wood slat walls add warmth and texture to any interior.
- DIY wood feature walls are a manageable and creative project.
- Proper planning is essential to achieve the desired look.
- Selecting the right materials can enhance durability and aesthetics.
- Finishing touches like lighting and shelving elevate the overall design.
- Regular maintenance keeps your wood slat wall looking fresh.
What is a Wood Slat Wall?
A wood slat wall adds beauty to a room with strips of wood. You can cover a whole wall or just part of it. The sleek lines and warm feel make it look great and useful.
Overview of Wood Slat Walls
Wood slat walls are getting more popular in homes today. They use wood strips in different ways to make a room look deeper. By changing the size, color, and space between slats, you can make a special feature that catches the eye.
Popular Design Styles
There are a few top wood slat wall styles for different tastes:
- Modern Minimalist: This style uses clean lines and soft colors for a simple look.
- Rustic Farmhouse: Old wood gives a cozy feel, perfect for a warm style.
- Contemporary Chic: A mix of strong colors and patterns for a fancy touch.
Benefits of Wood Slat Walls
Putting in a wood slat wall has many pluses:
- It makes the sound better, giving rooms a closer feel.
- It adds texture and warmth, making the space nicer.
- It’s a great background for art or shelves, making decorations stand out.
Essential Materials for Your DIY Project
Choosing the right materials is key when making a wood slat wall. The correct wood affects both the look and strength of your wall. Let’s talk about what you’ll need for your project.
Types of Wood to Use
For a wood slat wall, some woods are better than others. You can choose from:
- Pine: It’s cheap and user-friendly, which makes it very popular.
- Poplar: Costs a bit more but has a nice, smooth finish.
- Oak: It’s strong and has a beautiful grain for a fancy look.
- Cedar: Fights off moisture and rot, great for unique designs.
Tools You’ll Need
The right tools make your project easier and improve the end result. You’ll need:
- Miter Saw: For cutting your wood slats accurately.
- Brad Nailer: Makes attaching slats easy.
- Orbital Sander: For a smooth finish before you paint or stain.
- Measuring Tape: Keeps your dimensions correct during setup.
Optional Supplies
While you need the basics, some optional extras can help too:
- Construction Adhesive: Adds more strength to the bond.
- Level: Keeps your slats straight.
- Paint or Stain: Choose one to match your room’s style.
Measuring and Planning Your Space
It’s crucial to get your measurements right for an easy wood slat wall project. Measure the wall’s height and width at several points. This considers any uneven areas that might change your plans. Getting the right measurements ensures a neat finish.
Taking Accurate Measurements
Start by using a measuring tape for the wall’s width and height. Write down these numbers so you won’t forget them. Measuring more than once helps avoid errors. Remember to measure around windows or doors, as they affect your design.
Sketching Your Design
Drawing your project first helps you see your wood slat wall idea better. Sketching helps decide on the spacing and layout of the slats. Try different layouts until you find the one you like most.
Considering Wall Height and Width
The size of your wall matters a lot in planning. Tall walls look great with long slats. Short walls might look better with shorter or various lengths of slats. Finding the right balance makes sure your design looks good in the room.
| Wall Dimension | Recommended Slat Size | Notes |
|---|---|---|
| 8 feet high | 1×4 inches | Great for a dramatic look |
| 6 feet high | 1×3 inches | Ideal for a cozy feel |
| 4 feet high | 1×2 inches | Perfect for accent walls in smaller rooms |
Preparing Your Walls
Before you start your wood slat wall DIY, get your walls ready first. This step makes the installation go smoothly. It also makes sure your finished wall looks great.
Clearing the Area
First, clear the space around the wall. Take away any furniture, wall decorations, or things in the way. A clean space makes the work easier. It also keeps your stuff safe from damage.
Repairing the Wall Surface
Look at the wall for holes, dents, or cracks next. Fill these with spackling paste and smooth it out. Once it’s dry, sand it lightly so it blends in. A well-prepped wall will make your wood slat project look better.
Priming the Wall (optional)
If you want, you can apply a primer or a different paint color before you start. This step can make your wood slat wall look even better. Pick a paint that goes well with your slats. A primed wall helps the slats stick better and last longer.
Cutting the Wood Slats
Cutting your wood slats correctly is crucial for a sleek look in your wood slat wall. The cuts’ size and quality really affect the final appearance. Knowing the sizes and practicing safety will make your project a hit.
Recommended Sizes for Slats
DIY wood slat walls usually use slats that are 1 to 2 inches wide and up to 8 feet tall. These dimensions help with both strength and looks. Choose sizes based on your design while considering wall proportions.
Safety Tips for Cutting
Safety is key when cutting wood slats. Always wear safety glasses and ear protection with power tools. They protect your eyes from dust and lower noise harm. Also, keep your space tidy to prevent accidents.
Techniques for a Clean Cut
For neat cuts on wood slats, use advanced techniques. A miter saw is perfect for sharp diagonal cuts. A table saw guarantees the right dimensions for bigger wood pieces. Practicing on scrap wood before helps improve your skills.
Attaching the Wood Slats
After prepping your wood slats, it’s time to fix them on the wall. You need to pick the right glue and method to attach them securely. Each method has its benefits, letting you choose the best for your work.
Choosing Your Adhesive
Using a strong glue helps keep slats in place well. Think about using construction glue made for wood projects. This glue is strong and makes attaching pieces easier. If you doubt its strength, you can also use screws or nails.
Nailing vs. Gluing
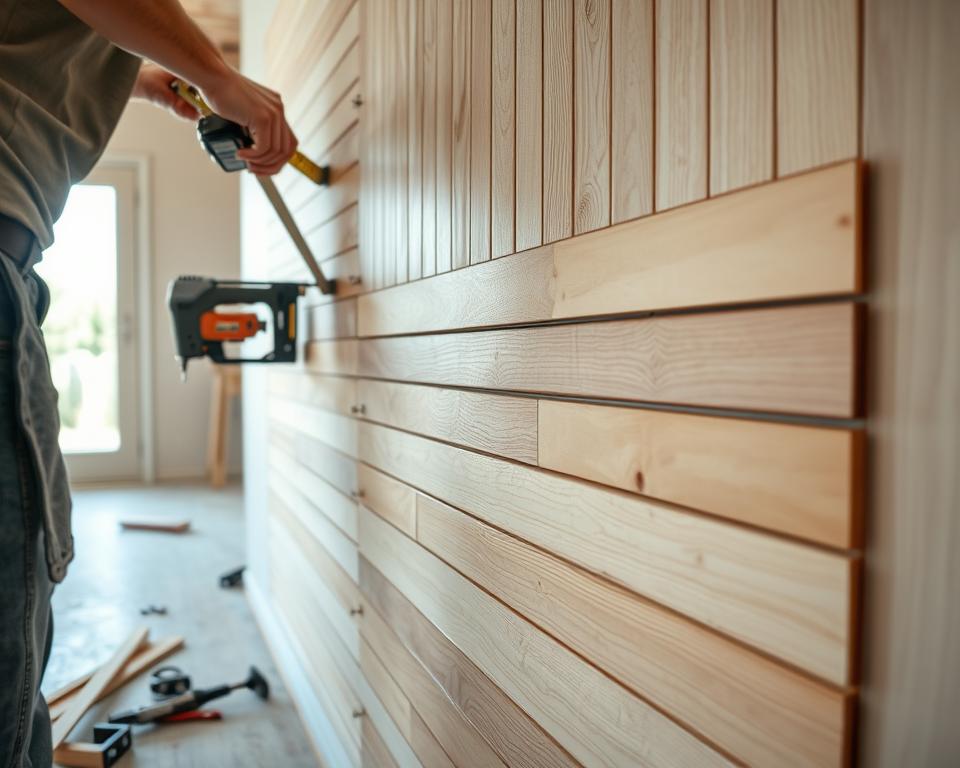
You can nail, glue, or use both methods to attach slats. Nails give quick support, good for thinner wood. A brad nailer fastens each slat strongly and quickly. Glue gives a neat finish but needs dry time before adding weight.
Maintaining Even Spacing
For a nice wood slat wall, keep the spacing between slats even. Use spacers for consistent gaps. Paying attention to this detail helps achieve a clean, professional look. Doing it carefully will make your wood slat wall stand out.
Finishing Touches
The final steps are key to the beauty of your wood slat wall. Choosing to stain or paint can really make your wall pop and feel right in your space. Go slow on this part to get a smooth, refined look.
Staining or Painting Your Slats
It’s up to you if you stain or paint your slats. They create different styles. Stains show off the wood’s natural pattern for a rustic or sleek vibe. Paint, however, can make things look lively or neat. Remember to apply stain or paint to the fronts and sides but not the back of each slat.
Applying a Sealer
Putting a clear sealer on after staining adds durability and protects against damage. This step matters a lot if the wall will get a lot of use or be near water. A top-notch sealer keeps your design looking fresh for a long time.
Choosing the Right Finish
The finish matters for both the wall’s look and feel. Options like satin or semi-gloss make the wood’s texture stand out and add a protective coat. Think about the vibe you’re going for. The right finish will make your wood slat wall stunning and fit well with your room’s style.
Adding Lighting to Enhance Your Wall
Adding lights to your DIY wood feature wall makes it look way better. The perfect lighting can change the mood, making textures stand out and the room feel cozy. You can choose from many lighting types, like recessed lights or sconces, to match your style. These lights will bring out what’s special about your wood wall.
Types of Lighting Fixtures
- Recessed lighting: Subtle and sleek, it provides a clean look while enhancing the wall’s wooden texture.
- Wall-mounted sconces: These fixtures add both light and style, acting as decorative elements on their own.
- LED strip lights: Perfect for creating an ambient glow, these lights can be placed along shelves or behind the wall for a dramatic effect.
Positioning Lights for Impact
Where you put the lights matters a lot. Try to place them so they show off the wood’s different depths and grains. This way, by creating the right shadows, you can make your DIY wood feature wall the focus of the room.
Incorporating Shelving
Adding shelves to your wood slat wall boosts both style and usefulness. Shelves let you display your taste while organizing your area. Here’s how to add shelves the right way.
Best Practices for DIY Shelving
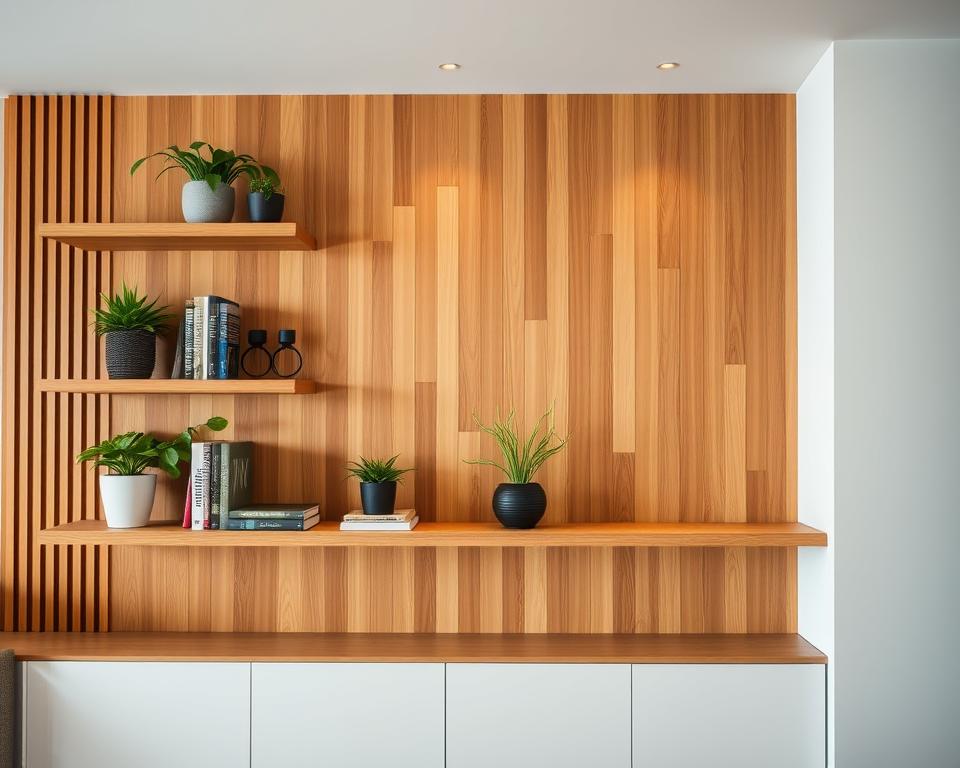
Putting shelves on a wood slat wall? Focus on safety and looks. Make sure shelves are mounted firmly at a good height. Use strong brackets for stability and to hold your things. Arrange your shelves nicely without making them too crowded.
Ideas for Decorative Displays
With new shelves, you can get really creative. Mix indoor plants, books, and cool decor for an interesting look. Put smaller items together for a great effect. Add pictures or art above the shelves to show your style. This makes your wood slat wall look awesome.
Maintaining Your Wood Slat Wall
To keep your wood slat wall looking great, regular upkeep is a must. Looking after the wood keeps it looking good and makes it last longer. Here are some tips for cleaning and caring for your wall.
Cleaning Tips
Dust your wood slat wall often with a microfiber cloth to stop dust from gathering. When doing a deep clean, pick a wood cleaner that’s safe for finishes. Be careful with water—it can harm the wood. Always dry the slats right away after cleaning them.
Regular Maintenance Practices
Check your wood slat wall every few months for any signs of damage or loose slats. Fixing these problems quickly can stop more damage. Tighten any loose slats or fill small cracks to keep your wall strong. Staying on top of maintenance means your wood slat wall will look beautiful for many years.
Creative Ideas for Decorating Your Slat Wall
Make your DIY wood feature wall the center of attention in your home. It’s a way to show off your style and display things that mean a lot to you. With a little creativity, your slat wall can be an exciting part of your home’s look.
Photo Displays and Artwork
Turn your DIY wood feature wall into a unique gallery. Mix framed photos with eye-catching art to share your stories. You can go for an eclectic mix of frame sizes or a tidy, uniform look. Use floating shelves for a changing display that keeps things interesting.
Integrating Indoor Plants
Bring your wall to life with plants. Hang planters or place small shelves for your indoor greens. Succulents and hanging plants are perfect and add a natural vibe. This mix of wood and green brings lively contrast to your DIY wall.
Seasonal Decor Tips
Change your decorations with the seasons to keep your wall fresh. Use fall-themed decor like pumpkins in autumn. In winter, switch to festive ornaments or warm textiles. Changing with the seasons highlights your DIY wall’s beauty all year.
Troubleshooting Common Issues
Creating your wood slat wall design ideas is usually fun and rewarding. But sometimes, you might face issues like warping and loose slats. These problems are common, yet they can be fixed easily with simple techniques and by staying proactive.
Dealing with Warping
Warping happens when there are changes in the environment, especially with moisture. Make sure your wood slats are dry and sealed before you put them up. If warping starts, use more screws or brackets to straighten them. To prevent more warping, keep your indoor humidity levels stable.
Fixing Loose Slats
Loose slats can make your wood slat wall look messy. If slats are moving, use wood glue on the joints to secure them. Adding more nails or screws can also help. Checking your wall regularly lets you fix problems quickly, keeping your design looking great.