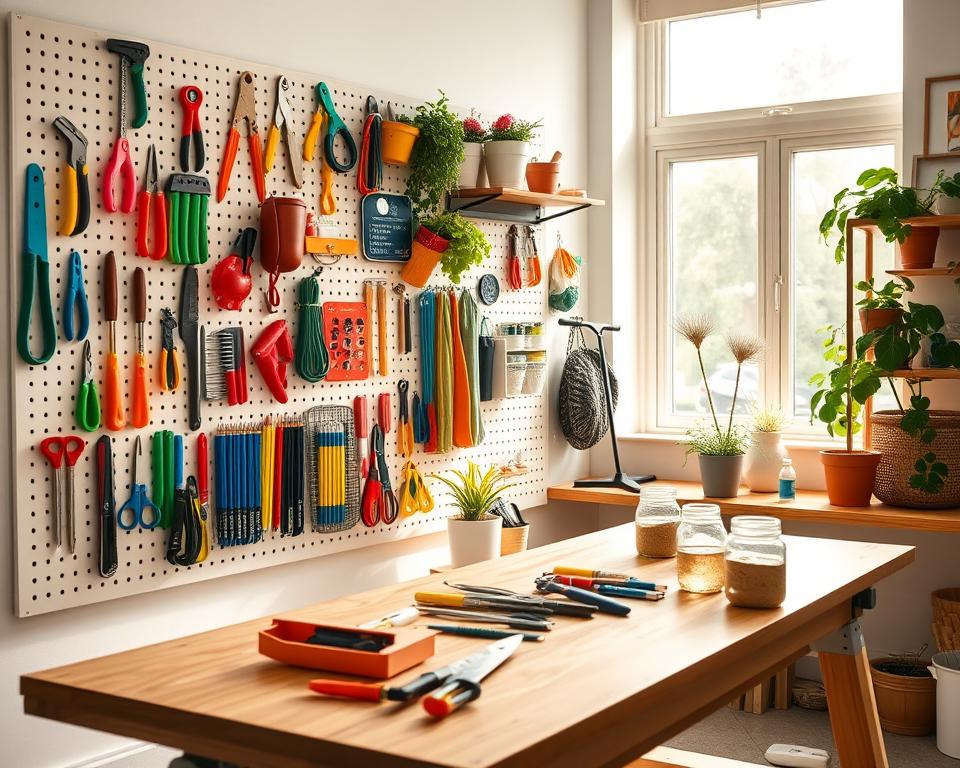
Did you know almost 80% of home upgrades begin with getting organized? Making a pegboard organizer yourself is a super way to tidy up. Plus, it lets you show off your creative side. With just a few basic tools and supplies, you can turn any place—like your garage, craft area, or office—into a neatly organized space. This guide leads you through making your pegboard organizer. It highlights how awesome they are and gives smart pegboard tips to spark your creativity.
Key Takeaways
- Pegboard organizers are versatile for various items and spaces.
- Customization options allow you to fit your unique needs.
- Using pegboards can enhance your space efficiency significantly.
- DIY pegboard projects are cost-effective and rewarding.
- Proper maintenance ensures longevity and functionality.
What is a Pegboard Organizer?
A pegboard organizer is a wall-mounted board made for storage. It has holes for hooks and accessories. So, you can set it up as you like. Pegboards help you keep things neat and easy to find.
Definition and Uses
A pegboard is usually made from plywood and has lots of holes. You can put pegs or hooks in these holes. Pegboards are great for hanging all sorts of things. People use them in garages for tools and in craft rooms for art supplies. They are also great in kitchens for utensils and in laundry rooms for cleaning stuff.
Popular Applications
- Tool organization in garages
- Craft supply management in creative spaces
- Kitchen utensil storage for easy access
- Miscellaneous item organization in laundry rooms
- Home office setups for keeping supplies tidy
Benefits of Using a Pegboard Organizer
Pegboard organizers are hugely beneficial and can really change your space. They are multi-purpose tools, perfect for anyone wanting to improve their organization.
Space Efficiency
Using pegboards is great in small spaces where using vertical space is key. They let you use wall space that’s often left empty. This helps keep floors and surfaces clear.
With pegboard storage, you can neatly store things like tools, crafts, or office supplies. And everything stays easy to reach.
Customization Options
Pegboards are awesome because you can customize them. You can rearrange hooks and shelves to fit different items as your needs change. This means you can get creative with how you set things up.
You could hang plants or keep kitchen tools handy. The choices are endless.
Cost-Effectiveness
When looking for storage, keeping costs down is important. Pegboards are a wallet-friendly choice over other storage methods. They are usually cheaper and you can make your own storage solution.
Choosing pegboard storage saves you money and lets you be hands-on with organizing your home.
Essential Tools and Materials for Your DIY Pegboard
Creating a pegboard organizer is fun. You need the right tools and materials to make it sturdy and functional. This ensures your project turns out well.
Required Tools
You will need some key tools, which include:
- Circular saw for cutting the pegboard to size
- Drill for making holes and securing the pegboard
- Level to make sure everything is straight
- Clamps to hold pieces in place during assembly
Material Choices
The materials you choose are crucial. They impact durability and appearance. Options include:
- Plywood for the pegboard itself, providing strength and reliability
- Paint or varnish to enhance appearance while protecting the wood
- Wood screws for a secure installation
Optional Accessories
Add more functionality with pegboard accessories. You can consider:
- Hook sets to hang tools and items easily
- Trays for small parts to keep everything organized
- Bins for larger items or supplies, maximizing space efficiency
Planning Your Pegboard Layout
Starting with your pegboard layout needs thought on several things. First, look at the space available. This step makes sure your pegboard uses space well and is easy to use.
Assessing Your Space
Check the wall where the pegboard will go. Note its size and any things in the way, like windows or outlets. Think about what you’ll hang and how often you’ll need it. It’s key to have things you use a lot within reach to make work smoother.
Designing a Functional Layout
Now, plan a layout that works well. Put similar items together to make things flow better. For example, keep tools for one project close to each other to save time and avoid mixing them up. Use up and down space smartly to fit more tools and stuff on your pegboard.
Sketching Your Plan
Drawing your layout helps a lot. A visual plan shows you how everything comes together. It points out what you might need to change to organize things well. Having a sketch makes setting up your pegboard easier and helps you see where to tweak things.
Step-by-Step Guide to Creating a Pegboard Organizer
Making a pegboard organizer helps you find items quicker and use space better. You need to follow a few key steps, from getting ready to adding hooks and knick-knacks. Here’s an easy guide to setting up your pegboard.
Preparing the Area
First, clear out where you’ll put the pegboard. You need a clean wall that can hold the weight. Take away any old decorations and measure the spot carefully. Doing this makes sure your pegboard goes up without a hitch.
Installing the Pegboard
Now, you need to get the pegboard ready. Measure and cut it to the size you want. You might want to paint it to make it yours. Then, fasten it to the wall with screws, leaving room behind for hooks. This step makes sure it works right.
Adding Hooks and Accessories
With the pegboard up, add hooks and other bits to fit your plan. You can use different hooks for various items. This way, you can set it up just how you need it. It also lets you get creative, making a one-of-a-kind setup.
Creative Ideas for Organizing with Pegboard
Pegboards are very versatile, perfect for many spaces. They work great in craft rooms and garages. They help keep things neat and also look good.
Craft Room Inspiration
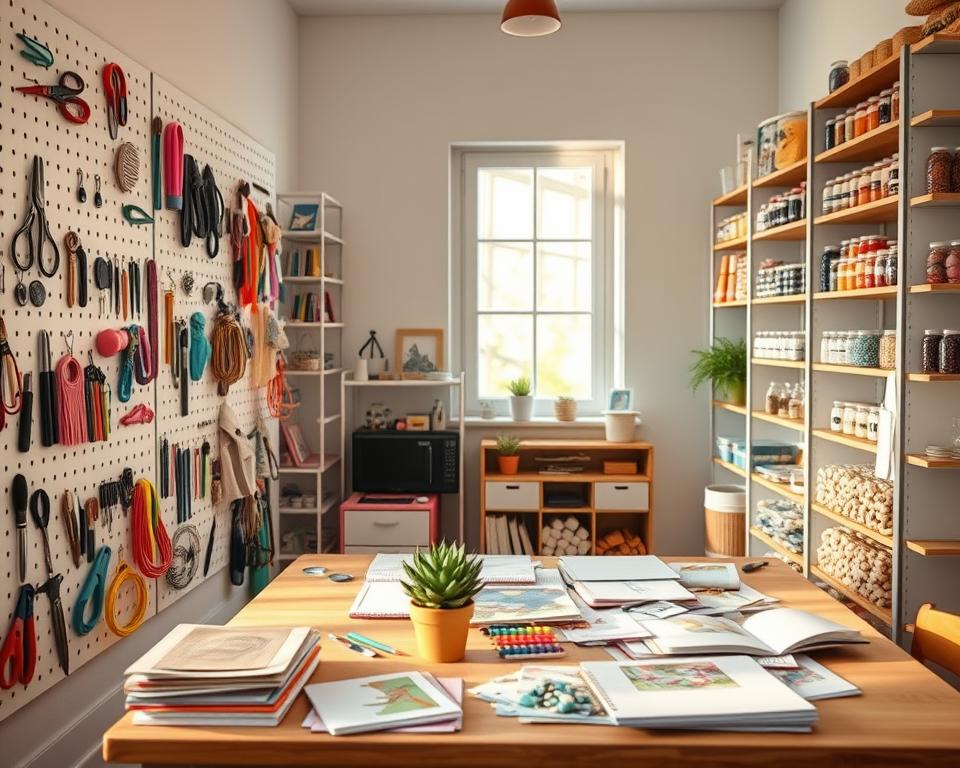
In craft rooms, pegboards show off supplies well. Use decorative hooks for ribbons, scissors, and paints. Add your favorite colors to make it blend with your room. Use small containers for buttons or thread. This makes your craft area both fun and organized.
Garage Organization Tips
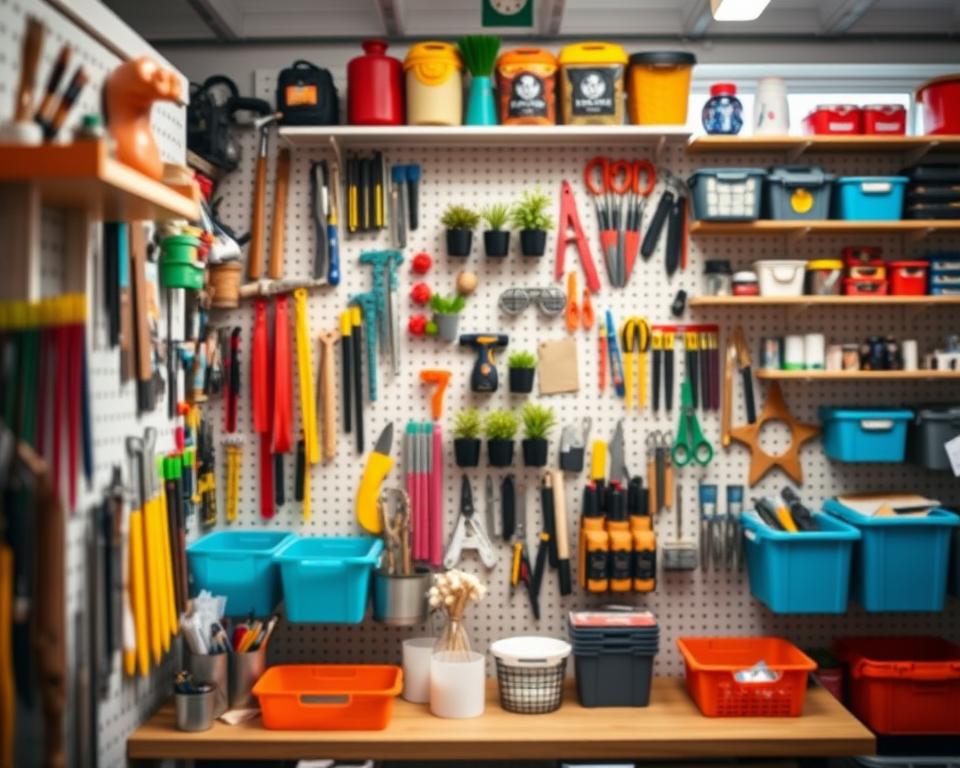
Pegboards in the garage make tool storage easy. Sort tools by type on different parts of the pegboard. Hang tools you use a lot, like hammers and wrenches, where you can see them. Labels help you find what you need quickly.
Home Office Solutions
Make your home office better with a pegboard for your stuff. Keep pens, notebooks, or calendars on it. This helps you stay focused and creative. You can also add shelves for more space.
| Space | Pegboard Ideas | Benefits |
|---|---|---|
| Craft Room | Color-coded storage for supplies | Enhanced creativity and organization |
| Garage | Tool categorization and labels | Quick access and neat appearance |
| Home Office | Stationery holders and planners | Boosts productivity and efficiency |
Maintenance and Upkeep of Your Pegboard Organizer
Taking care of your pegboard organizer is key for looks and use. Regular care makes sure it lasts long and works well. With easy maintenance steps, you can make your pegboard better and keep it useful.
Regular Cleaning Tips
For a clean look, gently wipe the pegboard with a damp cloth and mild cleaners. This keeps it dust-free and nice-looking. To tackle hard-to-clean spots, use a soft brush gently on the holes and edges.
Checking for Loose Hardware
Every now and then, check if any parts of your pegboard are loose. Make sure hooks and brackets are tight for safety. Staying ahead with maintenance keeps your pegboard safe and reliable.
Seasonal Reorganization
With each new season, think about rearranging your pegboard. It’s a chance to meet your changing needs and update your setup. Changing with the seasons helps your space stay organized and ready for what you’re doing now.
Hacks and Tips for Maximizing Your Pegboard Use
Do you want to use your pegboard better? A few smart tricks can make a big difference in organizing. These tips help you use space wisely and make your area more efficient.
Utilize Vertical Space
Begin by using the pegboard’s vertical space. Add layers to hang different things. You can put hooks at various heights or add shelves for big items. This organizes your stuff and saves floor space.
Color-Coding for Efficiency
Color-coding makes finding things easy. Assign colors to each category for quick identification. You can use paint or colored tape. This method keeps things in order and looks good too.
Multi-Functional Accessories
Use accessories that serve multiple purposes. Choose baskets, trays, or containers that hang on hooks. They offer extra storage and keep your space tidy. This approach makes your workspace both functional and stylish.
| Hack | Benefit |
|---|---|
| Vertical Space Utilization | Increased storage capacity and easy accessibility |
| Color-Coding | Quick identification and improved organization |
| Multi-Functional Accessories | Space-saving storage that enhances overall efficiency |
Common Mistakes to Avoid in Pegboard Projects
Starting a pegboard project the right way avoids common mistakes. These errors can affect how your organizer works. Knowing what to avoid makes the pegboard setup better.
Overloading the Pegboard
Putting too many items on your pegboard is a big mistake. If it gets too heavy, the board might sag or break. This could damage your tools or accessories. So, always check how much weight your pegboard can handle.
Ignoring Weight Limits
Some people forget to consider weight limits with their pegboard. If you ignore these limits, the pegboard might not last. Falling items can also cause chaos. It’s important to follow the manufacturer’s guidelines.
Neglecting to Plan Ahead
Not planning your pegboard layout in advance is a problem. This can create clutter and waste your time. If you sketch your design first, you’ll save time and make your pegboard look and work better.
Sharing Your DIY Pegboard Organizer Journey
When you document your DIY pegboard project, it’s more than just fixing up your space. It can spark inspiration and bring people together. Sharing your work lets you show off your creative skills and connect with like-minded organizers. This bond can introduce you to new ideas and helpful advice you hadn’t thought of.
Encouraging Community Engagement
To get your community involved, take part in local craft discussions or online groups. Talk about your project’s ups and downs. This invites others to share their stories and tips too. Such chats can push you to try new things and build a network of support. Here, everyone can learn from each other.
Social Media Sharing Tips
Share your project’s journey on social media with eye-catching before-and-after shots. Use the right hashtags and connect with DIY groups to get others involved. Your openness to sharing your pegboard journey can inspire and create a space where new ideas are welcome.
Inspiring Others with Your Success
Your pegboard project’s success can motivate others to get creative too. Share your journey through blog posts or social media stories. Talk about your process and the helpful tips you discovered. This not only improves your skills but also motivates others to organize their own spaces.