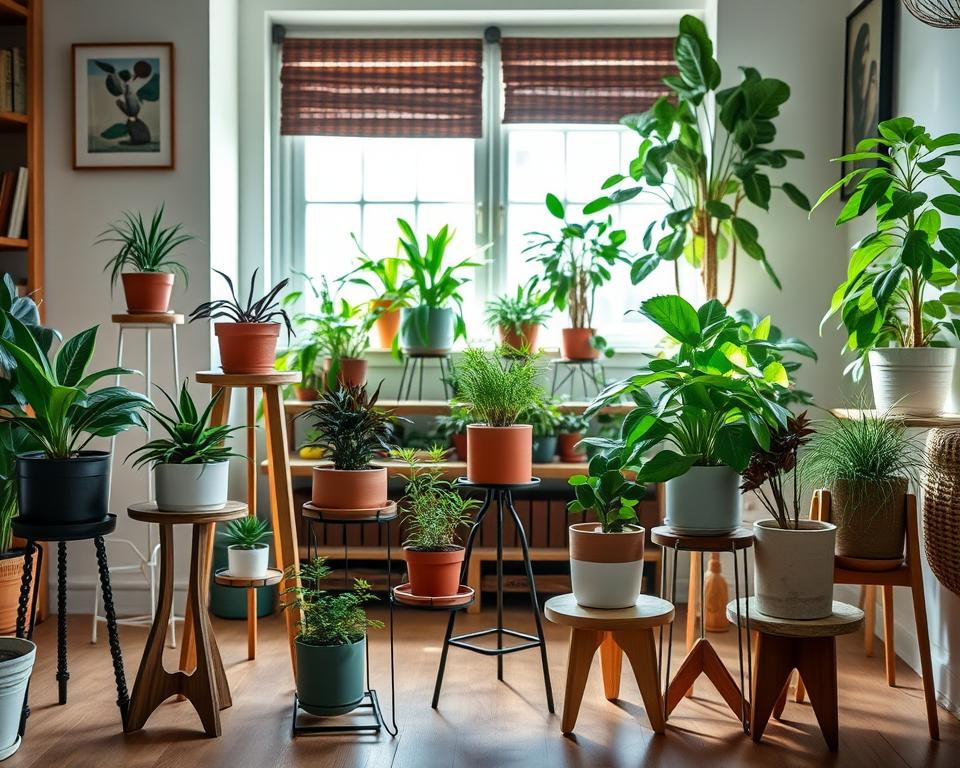
Did you know over 80% of U.S. homes have plants in their decor? Adding a plant stand not only shows off your plants but also improves your home’s look. Whether you’re new to DIY or have lots of experience, making a plant stand is doable. This guide offers fun DIY plant stand ideas and all the info you need. Your living space will look better, and you’ll enjoy being creative.
Key Takeaways
- A plant stand is essential for showcasing indoor plants effectively.
- You don’t need advanced skills to create a beautiful homemade plant stand.
- Various materials are available, each with unique benefits.
- Design inspirations vary from minimalist to rustic, catering to diverse tastes.
- Tools and safety practices are crucial to a successful DIY project.
- Proper maintenance keeps your homemade plant stand looking great.
Choosing the Right Materials for Your Plant Stand
Choosing the right materials is key for your wooden plant stand DIY project. The material you pick affects how your stand looks and lasts. Let’s look at different options for your plant stand plans.
Wood Options: Pros and Cons
Wood is a top choice for DIY plant stands because it’s easy to find and work with. Let’s see some wood types:
| Wood Type | Pros | Cons |
|---|---|---|
| Pine | Affordable, lightweight, easy to work with | Softwood can dent easily, less durable |
| Oak | Very durable, beautiful grain, holds stain well | More expensive, heavy to handle |
| Plywood | Cost-effective, strong, stable | Can splinter, may not have the same aesthetic appeal |
Metal Alternatives and Their Benefits
If you want a modern look, metal could be great for your plant stand. It’s strong and can hold heavy plants steady. Its sleek look fits well in modern rooms.
Eco-Friendly Choices to Consider
If you care about the environment, think about using reclaimed wood or eco-friendly metals. These materials cut down on waste and add unique charm to your project. By choosing eco-friendly options, you make something beautiful and help the planet.
Design Inspirations for Your Plant Stand
Creating a unique plant stand adds flair to any space. There are many design ideas to choose from. Explore popular DIY plant stand ideas that match different styles and tastes, like minimalist, rustic, and modern. They offer visual charm while improving your home.
Minimalist Designs for Small Spaces
Minimalist designs keep things simple and useful. They let plants shine while saving space. Use light wood or metal for open, airy stands. Small, tiered stands are great too. They elegantly display your plants without taking up too much room.
Rustic Styles for a Cozy Vibe
Rustic styles make your home feel warm and inviting. Using reclaimed wood gives stands a unique look. A stand with rough edges and a natural finish fits well in a cozy setting. Adding earth-toned planters boosts the rustic feel, making your room welcoming.
Modern and Sleek Ideas
Modern and sleek designs focus on clean lines and little decoration. Metal frames and glass shelves offer a cool contrast. Adding geometric shapes brings a unique flair. It’s great for those who love a neat, stylish space.
| Design Style | Key Features | Best For |
|---|---|---|
| Minimalist | Simplicity, light colors, tiered | Small rooms, modern decor |
| Rustic | Reclaimed wood, natural finishes | Cozy homes, country-themed spaces |
| Modern | Clean lines, metal, geometric shapes | Contemporary settings, urban apartments |
Essential Tools for Your DIY Project
Starting a plant stand project? The right tools matter a lot for the results you want. Here, we’ll talk about the must-have tools for your DIY efforts. We’ll also mention some extra tools for better precision. Plus, safety gear is key to stay safe while you work.
Basic Tools You Can’t Do Without
- Saw: A handsaw or miter saw will help you cut wood with ease.
- Drill: A power drill is essential for creating holes and driving screws.
- Screws: Various lengths of screws are crucial for joining your pieces securely.
- Measuring Tape: Precise measurements are key in following your plant stand plans.
- Square: Ensures that your corners are right angles, which is critical for stability.
Optional Tools for Enhanced Precision
- Miter Saw: Allows for more precise angled cuts, perfect for detailed designs.
- Nail Gun: Speeds up the assembly process, making it easier to attach pieces.
- Level: Ensures that your plant stand remains balanced, enhancing its functionality.
Safety Gear and Best Practices
Working on DIY projects means safety comes first. Wearing goggles and gloves can protect you from wood dust or cuts. It’s important to keep your work area tidy to prevent accidents. Also, knowing how to use your tools properly is a big must. This way, your project will not only be fun but also safe.
Step-by-Step Instructions to Build Your Stand
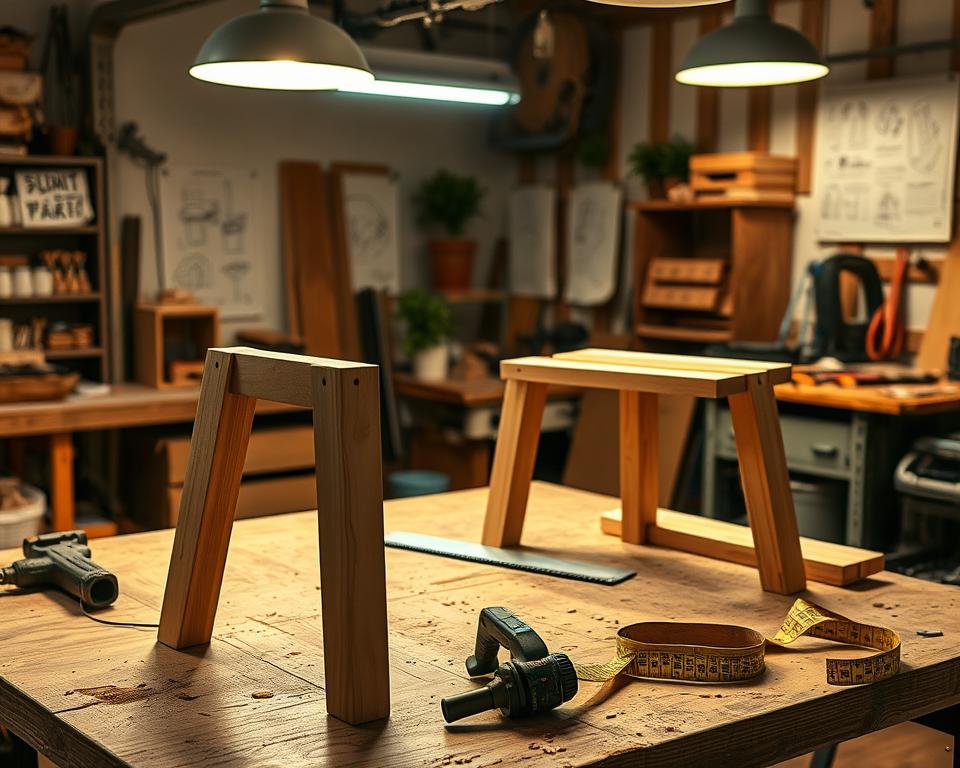
Building a stand for your indoor plants needs planning and action. Follow these steps for an easy DIY project that looks great in your space. First, get your work area ready. Make sure you have a good setup for working efficiently and safely.
Preparing Your Workspace
Start by organizing where you’ll work. A tidy space helps everything go smoothly. Get all the tools and supplies you need, like wood, screws, and decorations. Arrange your items so you can reach them easily. This helps you keep going without having to stop and look for things.
Cutting and Assembling the Frame
With your space set up, start by cutting and putting together the stand’s frame. Use your cut list to measure and cut each piece right. Below is a simple guide:
| Component | Dimensions (inches) |
|---|---|
| Bottom Shelf | 24 x 12 |
| Middle Shelf | 20 x 10 |
| Top Support | 24 |
| Side Legs | 30 |
Now, put the frame together with screws. Make sure it’s strong and balanced to hold your plants well. Secure all the connections to keep it stable.
Finishing Touches: Staining and Sealing
The final step is to stain and seal your plant stand. Pick a stain that goes with your room or shows your style. Then, use a clear sealant to keep it safe from water and damage. This not only makes it last longer but also gives it a nice look.
Tips for Enhancing Your Plant Stand
Have you made your own plant stand? Here are ways to up its game. You can make it look better and work better with a few changes. Make your plant stand a statement piece that shows your style.
Adding Lighting for Ambiance
Add lights to make your plant stand a cozy spot at night. String lights or LED lights work well to light it up softly. Arrange the lights to spotlight the plants and make your room feel warm and inviting.
Incorporating Shelves for Extra Space
Think about adding more shelves to your plant stand. It’s great for organizing your plants and stuff. Adjustable shelves or tiers can make it hold more plants, big and small. With more shelves, you can display many types of plants.
Personalizing with Decorative Accents
Your plant stand is like a blank canvas for your creativity. Add decorations that show off your style, like paint, ornaments, or potted decor. Bright colors and patterns can really spice up the area. This way, your plant stand will reflect you.
Creative Ways to Use Your Plant Stand
Looking for new ways to use your plant stand can spice up your space. A DIY project with your plant stand offers more than just showing off plants. It can make indoor spaces brighter and outdoor spots more attractive. Plus, you can get creative, finding uses for the stand that bring character and usefulness.
Indoor Plant Stand Ideas
Make your interior spaces pop with a well-chosen plant stand. Here are some cool ideas:
- Put the stand in a corner to spotlight your top houseplants.
- Build a layered display to show different plant sizes and types. This adds fun details to your room.
- Set it up by a reading spot to hold a lamp. It creates a cozy vibe.
Outdoor Plant Display Options
Outdoor areas get a boost with a plant stand. Check these out:
- Place your stand by a patio door for quick access to herbs or blossoms.
- Use the stand to display colorful pots. It becomes an eye-catcher in your garden.
- Match your stand with outside seating for a unified, inviting area.
Multi-Purpose Uses for Your Stand
Get creative with your plant stand for fun, multi-use options:
- Turn it into a mini bookshelf for cookbooks or magazines.
- Let it hold décor items like candles or photos, doubling as an accent piece.
- Use it to organize crafts, merging utility with beauty.
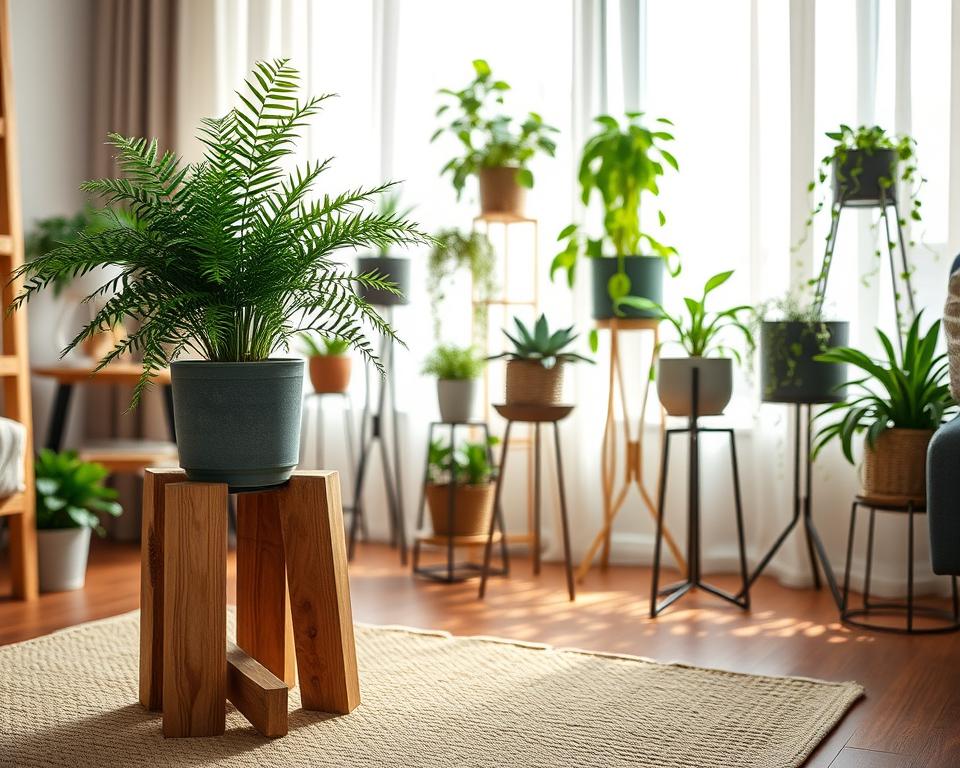
Mixing creativity with your plant stand projects boosts both the looks and usefulness of your area. With creative uses, your stand reflects your style and meets your needs.
Maintenance and Care for Your Plant Stand
To keep your homemade plant stand looking great, you need regular upkeep. Cleanliness and protection will make it look good and last longer. Here’s how to take good care of your wooden plant stand.
Regular Cleaning Tips
Always start by dusting your plant stand to keep dirt away. For a deeper clean, a wet cloth and mild soap work well. Steer clear of strong chemicals that could ruin the finish. Make sure to dry it well after cleaning to avoid moisture problems.
Protecting Against Wear and Tear
Your stand might still get worn out even if you’re careful. Put coasters or trays under pots to prevent stains and protect the wood. Apply a sealant or varnish every couple of years. This adds protection against damage.
Seasonal Maintenance Recommendations
As the seasons change, your plant stand might need extra care. In the spring, make sure it’s stable and fix any issues. When fall comes, you might need to refresh the wood if it looks faded. And in winter, keep it indoors or shield it from bad weather. Doing checks with each season will keep it looking and working right.
Common Mistakes to Avoid While DIYing
Making an easy DIY plant stand is exciting. But, it’s easy to fall into common traps. Knowing these mistakes can make your project better and the result something to be proud of. Keep these tips in mind when looking into DIY plant stand ideas.
Overcomplicating the Design
Many beginners choose complex designs to show off their skills. But, a complicated design can cause confusion and frustration. Start simple and let your project grow over time. A simpler design makes building easier and allows for changes later.
Ignoring Measurements
Being precise is key in DIY projects. Skipping measurements may seem faster, but it often leads to problems. Always measure carefully before cutting or putting pieces together. Correct measurements prevent wasting materials and ensure your plant stand fits just right.
Skipping the Finish
The final steps can make your project stand out. Many miss the chance to stain or seal their plant stands. These steps protect your stand and make it look better. So, don’t forget to finish your DIY plant stand to add to its beauty.
Final Thoughts on Your DIY Plant Stand
Making your own plant stand is rewarding. It lets you design something that fits your style and area. A DIY plant stand project is great because it’s personal and saves money. By using a tutorial, you can make a stunning home for your plants. This upgrades both your indoor and outdoor spaces.
Benefits of Creating Your Own
When you create your plant stand, you can make it your own. Pick colors, finishes, and styles that go with your decor. Your plant stand will be both useful and a valuable part of your home. Plus, it boosts your creativity and pride in making something yourself.
Sharing Your Success Story
After making your plant stand, share your story. You could use social media or tell your family and friends. Sharing your DIY journey might encourage others to try making something too. It builds a community of DIY lovers and shows the happiness of creating.
Encouraging Others to Try DIY Projects
Getting others to try DIY, like building a plant stand, promotes creativity and independence. By sharing your experience, you show that anyone can do it. So, inspire someone to start their DIY adventure today!