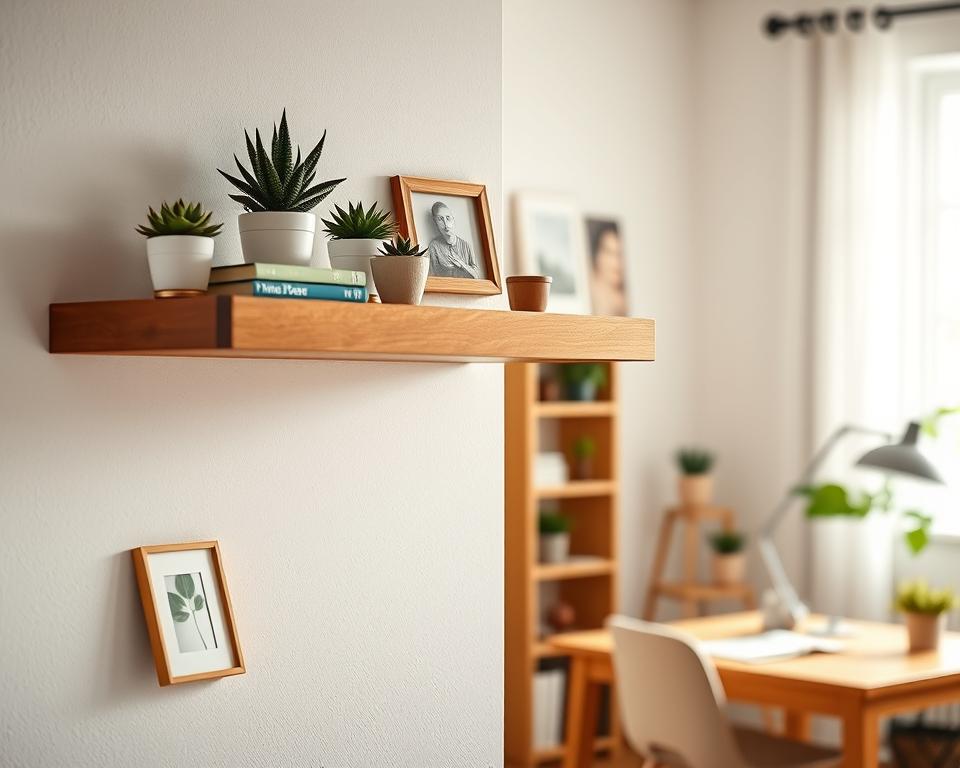
Did you know a floating shelf can add over 40% more storage space to your home? They don’t just offer extra space; floating shelves also bring style to any room. If you’re curious about making stylish and useful shelves, you’re in the right place! This tutorial makes it simple to craft your own shelves. With a few tools and materials, you can make shelves that fit perfectly with your home’s look.
Key Takeaways
- Floating shelves can significantly enhance storage space in your home.
- This tutorial provides detailed, easy-to-follow steps for DIY enthusiasts of all skill levels.
- Using basic tools, anyone can create functional and stylish floating shelves.
- Floating shelves add a modern touch and versatility to any room’s décor.
- Customizing your shelves allows for unique designs tailored to your personal taste.
What Is a Floating Shelf?
Floating shelves are now a big hit in modern design. They seem to float on the wall without any visible supports. This makes rooms feel more open. They’re not just about looks; they have practical uses in homes and businesses.
Definition and Concept
A floating shelf offers a sleek spot for storage and display. It doesn’t have the bulk that regular shelves do. These shelves fit perfectly in any space, like living rooms, kitchens, or bathrooms. They come in various materials such as wood, metal, and glass. This variety means they can fit any design and serve many purposes.
Benefits of Floating Shelves
Floating shelves bring more than just a modern look. They use vertical space wisely, which is great for smaller areas. They make it easy to display personal items and plants without clutter. You can place them at any height. This makes your home or office both organized and stylish.
Tools and Materials Needed for Your DIY Project
Starting a DIY project for floating shelves means picking the right tools and materials. The gear you choose can make or break how well your project turns out. Below is a list of must-have tools and top shelf materials to make sure your shelves are both strong and look great.
Essential Tools
Get these important tools ready before you begin making your shelves:
- Miter saw for precise cuts
- Drill for making holes for floating shelf hardware
- Level to ensure everything is straight
- Stud finder to locate wall studs
- Clamps for holding boards together while you work
Recommended Materials
Choosing the right materials for your floating shelves impacts both their look and strength. Here are some great options to consider for your materials:
| Material Type | Characteristics | Weight Capacity |
|---|---|---|
| Pine | Lightweight and easy to work with | Up to 50 lbs |
| Birch Plywood | Sturdy and smooth surface | Up to 75 lbs |
| Oak | Heavy-duty and long-lasting | Up to 100 lbs |
Choosing the Right Location for Your Shelf
Finding the perfect spot for floating shelves is key for looks and use. You should think about how much wall space you have, what’s already in the room, and what you’ll put on the shelves. Doing this helps you use the space well and make the room look great.
Factors to Consider
Here’s what to keep in mind when picking a spot for floating shelves:
- Wall Space: Choose open walls where your shelf won’t be too cramped.
- Surrounding Décor: Make sure the shelf fits with what’s already there. It should enhance art or collectibles.
- Intended Use: Think about if the shelf will hold books, plants, or décor. This affects where you put it.
Adjusting for Weight Capacity
It’s important to check how much weight the shelf can hold before you hang it up. Use strong brackets for heavy things and make sure the wall can hold it all. Knowing the max weight helps you set it up right and keeps everything safe.
Measuring and Marking Your Wall
Getting the measurements right is key when installing floating shelves. Measuring correctly ensures your shelves look and work perfectly. Accurate measuring stops the hassle of brackets that don’t line up or shelves that are off balance.
Accurate Measurements
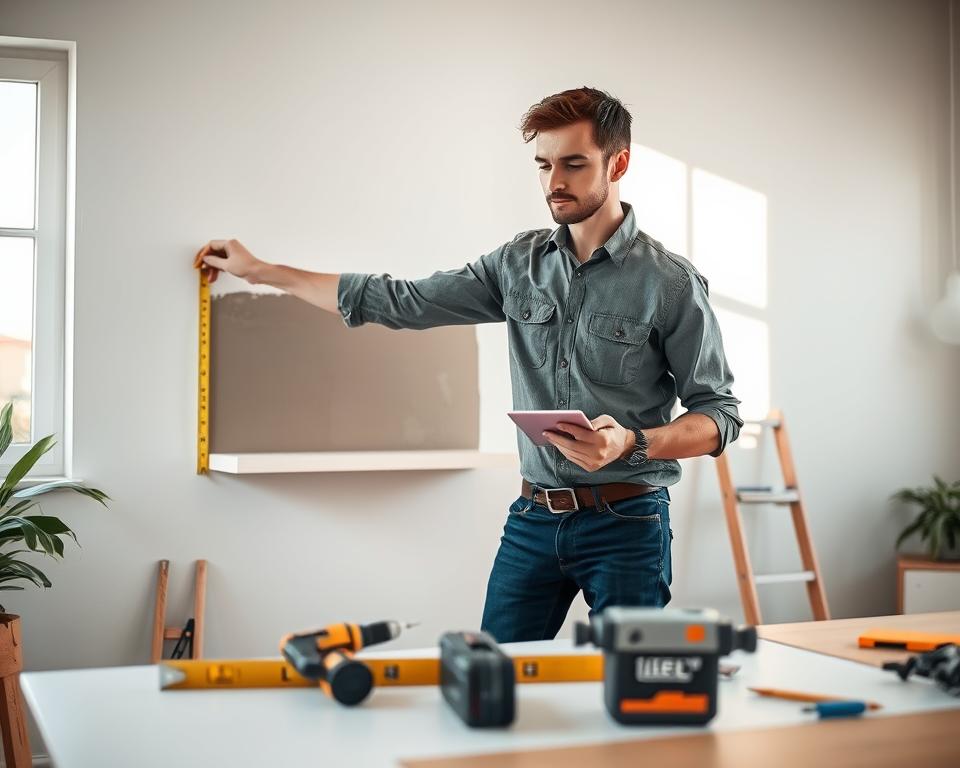
First, grab a trustworthy measuring tape to record the shelf’s height and width. Remember to consider the shelf’s thickness for bracket placement. Measure from an established point to where you want the shelf, marking with a pencil. Always double-check your numbers to avoid any big issues later.
Techniques for Marking
Using painter’s tape is a smart move for shelf measuring. Stick the tape where you want the shelves. It shows you how things will look before you commit. Mark where the studs and brackets will go on the tape. This makes drilling simpler and more precise.
| Measurement Step | Description | Tools Needed |
|---|---|---|
| 1. Determine Shelf Height | Measure from the floor to the desired height for your shelf. | Measuring Tape |
| 2. Measure Width | Assess the width of the space to ensure the shelf will fit. | Measuring Tape |
| 3. Check for Level | Use a level to confirm that the shelf will be horizontal. | Level |
| 4. Mark Stud Locations | Identify and mark the positions of wall studs for bracket support. | Pencil or Marker |
| 5. Visual Layout | Use painter’s tape to outline the shelf’s position on the wall. | Painter’s Tape |
Cutting the Shelf to Size
Making your own floating shelves is a step-by-step process, especially when trimming the wood. Picking the right wood is key as it impacts the look and strength of your shelves. Learning to measure and cut precisely can make your DIY project stand out.
Selecting the Right Wood
Choosing the right wood is crucial for your floating shelves’ strength and look. Popular kinds include:
- Pine: A budget-friendly option that’s light in color and has a natural wood texture.
- Maple: Hard and durable, maple gives a refined look.
- Oak: Famous for its toughness and beautiful grain, oak is a top choice.
Step-by-Step Cutting Guide
To cut floating shelves accurately, follow these woodworking tips:
- Measure: First, measure the length and width to fit your wall space.
- Mark: With a straight edge and pencil, mark where to cut clearly.
- Set Up the Saw: Decide on using either a circular saw or a miter saw for better precision.
- Cut Slowly: Cut along the marked lines carefully and keep your hand steady.
- Inspect Edges: Check the edges after cutting. Sand down any rough spots for a neat finish.
Being precise when cutting is key to the quality of your floating shelves. Take your time with this step to ensure a project that wows anyone who sees it.
Preparing the Wall for Installation
Getting your wall ready is key for a good floating shelf setup. First, find the wall studs since they are needed for shelf support. Shelves that are well-supported can hold more weight, and finding studs stops accidents later.
Finding Studs in Your Wall
A stud finder makes finding studs easy. It spots the wooden beams behind the wall. Just slide the stud finder across the wall until you see the indicator lights blink. Then mark the spot with a pencil. If you don’t have a stud finder, try knocking on the wall. A hollow sound means no stud nearby, but a solid one means you’ve found a stud.
Using Wall Anchors
If you can’t screw into a stud, use wall anchors. They help spread out the weight. You can use plastic or metal anchors for heavy items. After making a hole, push in the anchor as shown in the instructions. This ensures your shelf stays secure, letting you display decorations safely.
Installing the Floating Shelf Brackets
Picking the right floating shelf brackets is important. You need them for both looks and stability. There are many types, like hidden supports and strong metal brackets. Each type has its own advantages. It’s good to know about them before deciding. Next, we’ll look at how to install these brackets correctly.
Types of Brackets
Different kinds of floating shelf brackets are out there:
- Hidden supports: These are put inside the shelf. They can’t be seen from the outside, which makes the shelf look sleek.
- Metal brackets: These are usually seen and are stronger. They’re great for holding up heavier items.
- Comparative brackets: These offer a mix of hidden and visible features, adding flexibility.
Installation Steps
- Start by finding the wall studs with a stud finder. This step is key for a solid setup.
- Next, mark where your brackets will go on the wall. Make sure they line up with the studs.
- Then, drill small holes where you marked. For heavy shelves, put in wall anchors as the directions say.
- Screw in the brackets snugly, but don’t overdo it. Too tight could harm the wall.
- Check if everything is level once the brackets are all up. This makes sure your shelf looks neat.
Attaching the Shelf to Brackets
Making sure that floating shelves are stable is key for safety and use. It’s important to attach shelves properly to feel sure they’ll hold up. Let’s talk about how to securely and evenly put up a shelf.
Ensuring Stability
Follow these steps for a stable floating shelf:
- Double-check the brackets’ alignment before attaching them to the wall.
- Use a level to ensure the brackets are perfectly straight.
- Pick screws that match your wall type, like drywall or concrete, for a firm attachment.
Tips for Even Placement
Ensure your floating shelves are evenly placed by:
- Measuring the space between shelves for a consistent look.
- Carefully marking where to drill to avoid mistakes.
- Make sure shelves are balanced by checking bracket support.
Finishing Touches: Sanding and Painting
After installing your floating shelves, it’s time for the final touches. Sanding and painting or staining your shelves will make them look better and protect the wood. This part will tell you about effective sanding methods and help you pick the best paint or stain for your shelves.
Sanding Techniques
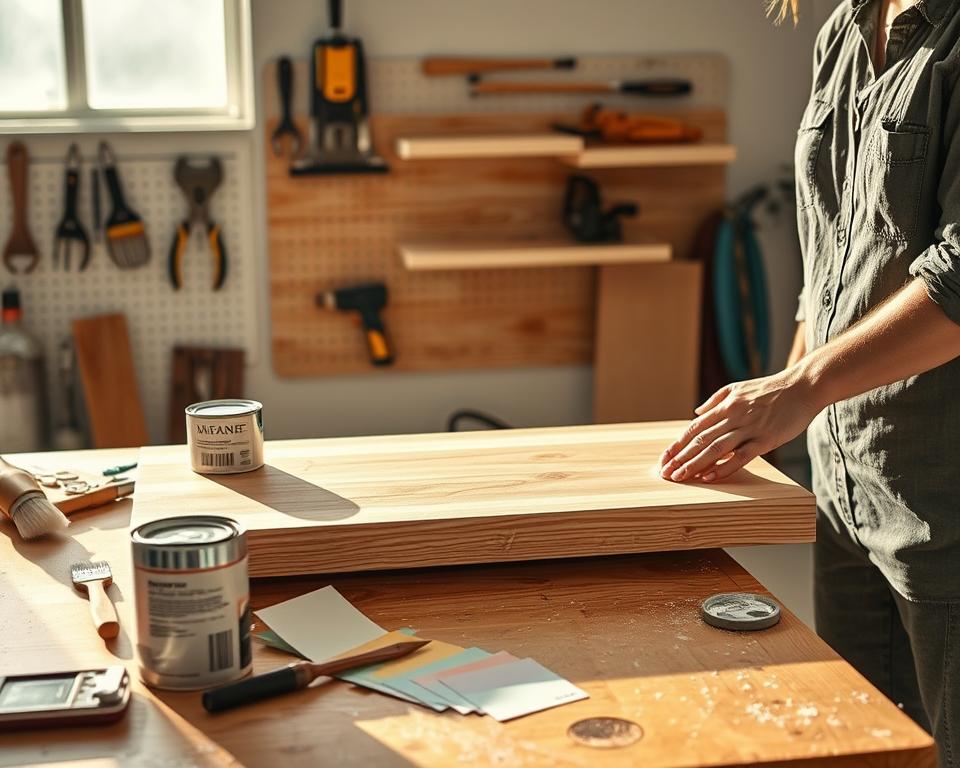
Sanding helps get a smooth surface. Begin with a coarse 80-grit sandpaper to take off rough spots. Then, use finer 120 and 220 grits for a smooth finish. Always sand along the wood grain to prevent splinters. Remember to clean the dust with a damp cloth before you start painting.
Choosing the Right Paint or Stain
The finish you choose is key for your shelves’ look. A stain will show the wood’s natural beauty while protecting it. For a colorful look, pick high-quality paint that matches your décor. Choose semi-gloss or satin finishes for strength, useful if placing heavy items on the shelves. The right color will enhance your space and make painting your shelves a good decision.
Enhancing Your Shelf Design
After you put up floating shelves, it’s time to make them look amazing. Decorating creatively turns a basic shelf into the standout feature of your room. It’s all about showing off what the shelf can do while making it personal. Try these floating shelf decor tips to make your area look better and use practical decorating ideas for floating shelves.
Creative Decoration Ideas
- Books: Arrange books both side by side and stacked for a mix. Use books with colorful covers for extra pop.
- Plants: Add life with small plants in pots or terrariums that hang. They make the design softer.
- Artwork: Place framed art or photos leaning against the wall. It makes changing them out easy and keeps things looking new.
- Accessories: Include decorative items like boxes, vases, or statues. These add layers and depth.
Seasonal Decorating Tips
Changing your shelf decor with the seasons keeps your space lively. Here are some suggestions:
- Spring: Bring in the season with pastel colors and flowers.
- Summer: Choose beach themes with shells or breezy decorations.
- Fall: Use warm colors and natural things like pumpkins and pine cones.
- Winter: Candles and festive decorations make things cozy.
Use these tips for decorating floating shelves to create a space that’s useful and shows off your style. It will also change easily with the seasons.
Safety Precautions for DIY Projects
When starting DIY projects, it’s crucial to focus on safety to make sure everything goes well. Following key safety steps helps avoid dangerous situations. This part talks about general safety rules and tricks for using tools without getting hurt.
Common Safety Guidelines
- Always wear protective gear such as safety goggles, gloves, and masks to shield against dust and debris.
- Keep your workspace well-lit and organized to minimize risks of accidents.
- Read all operating instructions for tools before use to ensure proper handling.
- Never work in a cluttered area, as this can cause trips and falls.
Tools Safety Tips
- Inspect tools before use for any signs of damage or wear. Do not use any tool that seems unsafe.
- Use the right tool for the job to avoid unnecessary accidents.
- Always disconnect electrical tools when changing bits or making adjustments.
- Stand firmly and maintain good balance when using tools to prevent slips or falls.
Maintenance Tips for Your Floating Shelf
Keeping your floating shelves in top shape requires regular care. Be sure to check for any signs of trouble often. This not only helps them last longer but also keeps them safe for all your favorite things. It’s good to have a check-up plan, perhaps every few months, to keep them in great condition.
Regular Check-Ups
When checking, focus on the brackets and mounting parts. Make sure everything is still tight and hasn’t come loose. If your shelves seem unsteady or are drooping, fix these problems right away. Acting fast stops bigger issues from happening, keeping your shelves dependable and looking good.
Cleaning and Care Methods
Use gentle cleaning solutions to keep shelves clean without damage. A soft cloth and warm soapy water are usually enough. Steer clear of strong chemicals or rough tools that could harm the finish. A bit of wax now and then also helps keep the surface shiny and protected. Regular cleaning and care make your floating shelves stay beautiful and useful.