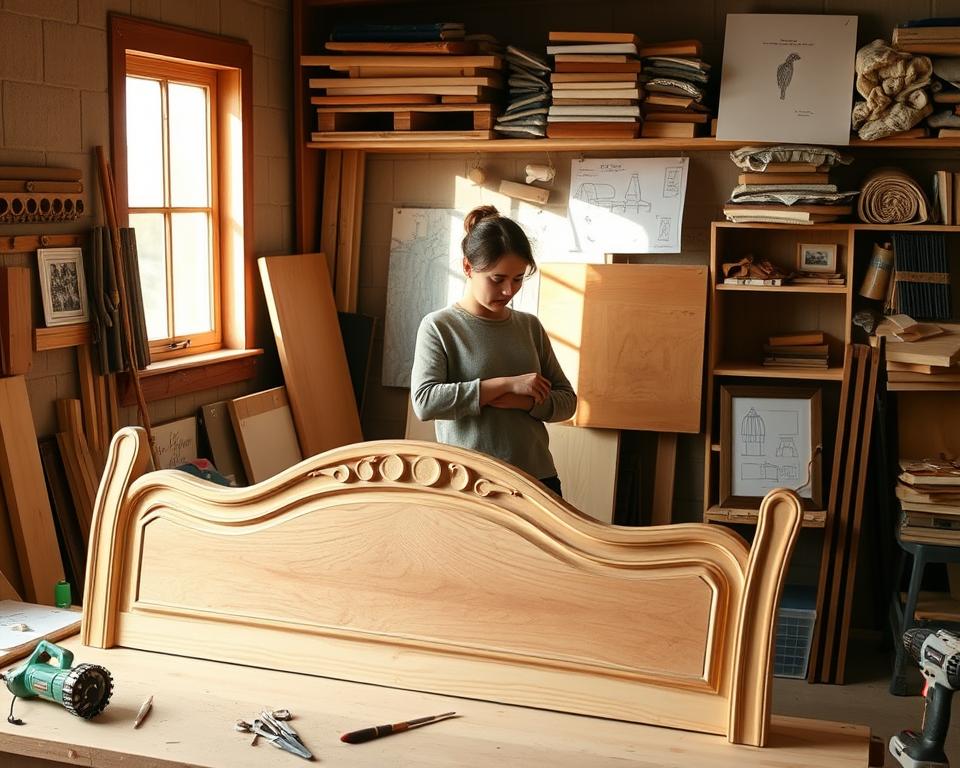
Did you know a store-bought headboard can cost from $200 to over $1,000? This shows how pricey they can be. If you want to make your bedroom look better without spending a lot, try a headboard DIY project. Doing it yourself saves money and lets you create something special that shows off your style.
You can find many headboard designs to fit your room perfectly. Plus, you’ll feel proud of making it yourself.
Key Takeaways
- Creating your own headboard can save you substantial money.
- Homemade headboards allow for personal customization.
- A variety of headboard ideas can match any decor style.
- DIY headboards can look luxurious at a fraction of the cost.
- This project brings the satisfaction of crafting something unique.
Introduction to Headboard DIY
Making your own headboard is an exciting way to change your bedroom. It’s budget-friendly. You get to show off your style while keeping your wallet happy. Custom headboards add beauty and function to your room.
Why Make a Headboard?
People love making their headboards because it gives them control. You can pick the design, size, and materials to fit your room just right. Finding such customization in stores is tough. Whether you want something simple or elaborate, it’s all up to you with a headboard project.
Benefits of a Custom Headboard
Custom headboards are about more than looks. First, they can save you a lot of money. With DIY, you might spend half of what stores charge. Plus, creating something unique makes you feel proud. You choose designs and fabrics that match your style, making your bedroom truly yours.
Choosing the Right Style for Your Room
When you pick a headboard, think about how it fits with your room’s look. There are different ideas to match styles like modern or cozy vintage. The right headboard makes your room feel complete.
Popular Design Styles
There are many headboard styles out there. Here’s what’s trending:
- Modern: It’s all about clean lines and simplicity, great for a modern room.
- Mid-Century: Sleek, practical designs with natural wood are its hallmark.
- Bohemian: Expect bold colors, lots of textures, and unique patterns, perfect for a unique room.
- Rustic: Uses reclaimed or distressed wood for a cozy country look.
Tips for Matching Your Decor
Matching your headboard with your room takes thought. Here’s how to get it right:
- Pick colors that blend with your room to create a balanced look.
- Choose materials reflecting your room’s theme, like metal for industrial or soft upholstered ones for comfort.
- Add textures that go well with other room elements, enhancing the vibe.
Considering Your Space
How much space you have is key in choosing a headboard. Knowing your room’s size helps pick the right style. Look for designs that don’t take up too much space, like adjustable or wall-mounted headboards. They add style without cramping your room.
Materials You’ll Need for Your Headboard
Making your own headboard is a rewarding project. It lets you show off your style. You’ll need good wood, the right fabric, and some tools to start. Let’s dive into the details of what you need.
Wood Options
Choosing wood for your headboard? Consider plywood and MDF. They’re strong and easy to work with. Plywood is light and can be shaped. MDF has a smooth face for painting or fabric. You can also use solid wood like pine or oak for more support.
Upholstery Choices
The fabric you pick can change your headboard’s look and feel. Linen adds elegance, while velvet brings luxury. Cotton blends are easy to clean with lots of choices in colors and patterns. The right fabric adds beauty and comfort.
Tools and Supplies
You’ll need certain tools and supplies for a smooth build. Here’s what’s necessary:
- Staple gun
- Upholstery needles
- Screws for assembly
- Measuring tape
- Level for alignment
- Sandpaper for smoothing edges
Step-by-Step Guide to Building a Wooden Headboard
Creating your own wooden headboard might seem tricky. Yet, this straightforward guide makes it easy. It’s perfect for both beginners and pros. Let’s get into the key steps of this fun project.
Preparing Your Materials
First, collect all the materials you need for the headboard. Choose top-notch wood, screws, and any finish you like. Here’s a checklist:
- Wood panels (1×4 or 1×6 boards work well)
- Wood screws
- Sandpaper
- Wood glue
- Paint or wood stain
Make sure to measure your bed frame to get the right fit. Cut the wood accordingly, and smooth the edges with sandpaper.
Assembling the Frame
Now, it’s time to put the frame together. Arrange the cut pieces on a flat area. Here are the steps:
- Use screws and glue to join the vertical sides to the top horizontal piece.
- Attach the bottom piece to finish the frame structure.
- Check that the frame is evenly square by measuring the diagonals.
After assembling, test the frame’s strength by pressing on its sides. This ensures your headboard is ready and reliable.
Finishing Touches
Time for the last steps to personalize your headboard. Choose paint or stain that complements your room. Your design flair comes into play here. Let it fully dry before you attach it to your bed. Feel free to add decorative pieces, like trim or upholstery, to enhance the look.
Creative Upholstered Headboard Ideas
Creating an upholstered headboard offers endless design paths. You get to choose from a lot of fabrics and foam for both comfort and style. Different foams let you decide how soft you want it. The fabric you pick can really change your room’s look. Choices range from fancy velvets to straightforward linens. What you choose greatly affects your headboard’s look.
Using Foam and Fabric
Choosing the right foam and fabric is key for a beautiful headboard. Keep in mind:
- Foam Thickness: Thicker foam is cozier but looks bulkier. Pick what matches your style.
- Fabric Durability: Tougher fabrics last longer. Options include canvas or special upholstery fabrics.
- Color Coordination: Make sure your fabric’s color fits your room’s style. Go with neutral for flexibility or bright for fun.
Patterns and Colors to Consider
Right patterns and colors give your headboard its own personality. Here’s some inspiration:
| Pattern Type | Color Suggestions |
|---|---|
| Geometric | Go for bold like teal or mustard for a modern vibe |
| Floral | Pick soft pastels for a vintage feel |
| Stripe | Elegant navy and white are classic |
| Textured | Choose deep jewel tones for richness |
Exploring different headboard designs lets you boost your bedroom’s look and feel. Use your creativity to find patterns and colors that fit your taste.
Repurposing Furniture into a Headboard
Turning old furniture into a headboard can make your bedroom look fresh. It’s not just about saving money, it brings uniqueness to your room. Learn how to change various furniture pieces into beautiful headboards. Plus, get tips to make sure your project is both safe and strong.
Finding Suitable Pieces
There are many pieces of furniture that can be turned into a headboard. You might want to consider:
- Old doors: Solid wood doors create a durable and fashionable base.
- Bed frames: Using the head or footboard can add an old-fashioned charm.
- Dressers: The upper part can act as a headboard and offer extra storage.
- Windows: Arranging multiple window frames can bring a special, country feel.
Steps to Repurpose Safely
When doing a DIY project, safety comes first. Follow these steps to make sure your headboard project stays safe:
- Check the furniture well for any harm or rot. Get rid of pieces that aren’t safe.
- Sand and clean the item to get it ready for paint or stain.
- Use wood glue or screws to fix any shaky parts, making it more stable.
- To make it taller, securely attach the headboard to the wall or the bed frame.
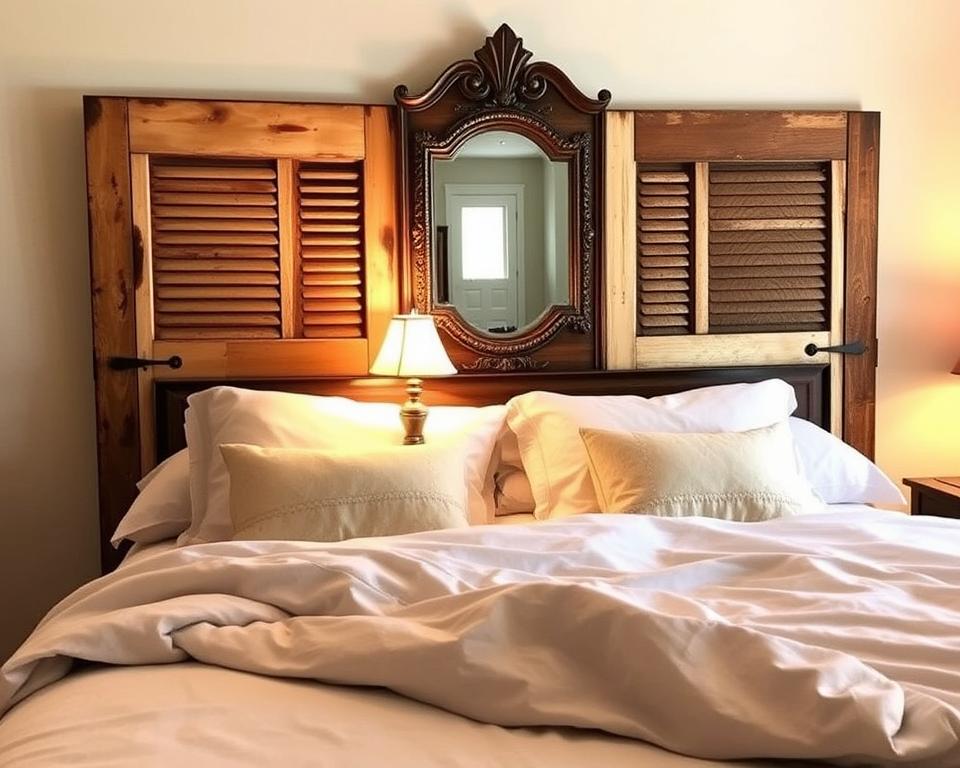
Adding Personal Touches to Your Headboard
Your headboard is the centerpiece of your bedroom. Making it your own can really bring the room to life. This section explains how to use different techniques and finishes to show off your personal style.
Paint and Stains
Changing your headboard with paint or stain is easy. Here are some helpful hints:
- Pick a color that matches your room. Soft colors bring peace, while bright ones add energy.
- Try various finishes, like matte or glossy. They can completely change how your headboard looks.
- Play with sponging, stenciling, or ombre for more texture and fun.
Custom Designs and Patterns
Custom designs let your headboard show who you are. Think about these ideas:
- Put wall art or stickers on your headboard for a special touch that you can update anytime.
- Simple patterns like geometric shapes or stripes can add a modern look.
- Stencils let you bring in motifs that tell your story, like places you’ve been.
You have so many choices for making your headboard unique. With some imagination and work, your headboard can truly stand out and make your bedroom look better.
Troubleshooting Common Issues in Headboard DIY
Making your own headboard is usually fun, but you might hit some bumps. We’ll look at how to solve two main problems: a shaky frame and fabric troubles. Fixing these can keep your headboard looking good and working well.
What to Do If It Wobbles
A shaky headboard can be annoying. Check how the headboard connects to the bed first. Make sure all screws or bolts are tight. If it’s still shaky, try using L-brackets for extra support. Putting them at the corners helps the headboard stay put against the wall or bed.
Fixing Upholstery Problems
Upholstery issues like wrinkles or sagging fabric can mess up your headboard’s look. Start by taking off the fabric to check the foam. Replace it if it’s damaged. To get rid of wrinkles, pull the fabric tight over the foam and staple it securely. These steps can make your headboard look as good as new.
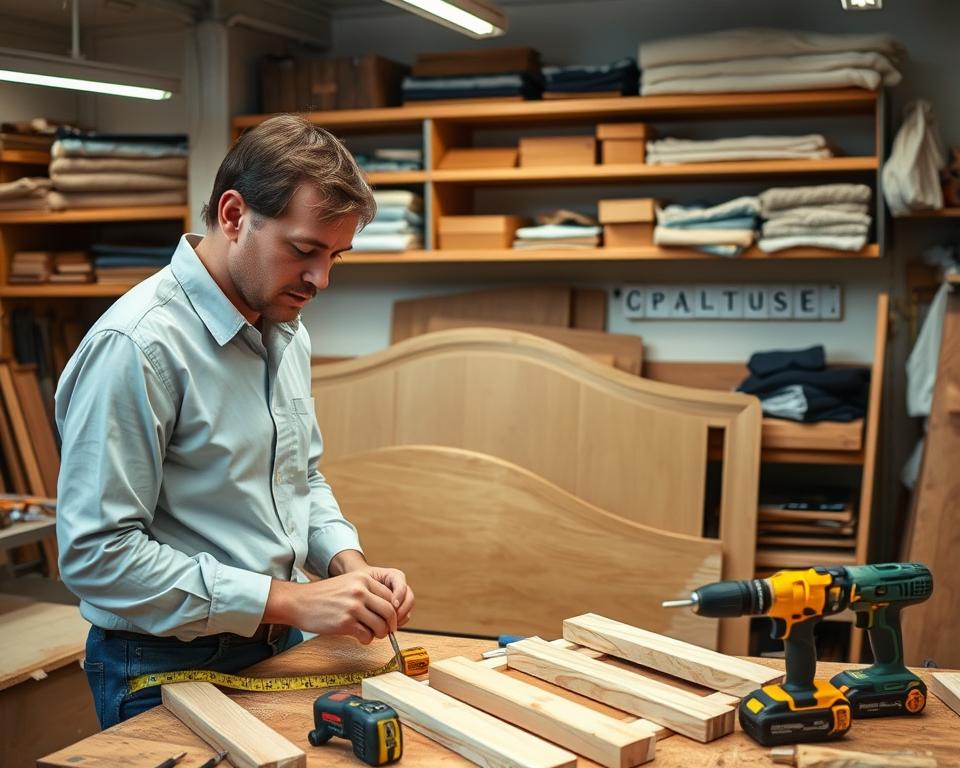
Final Thoughts and Inspiration
As you finish your headboard DIY project, pause to admire your effort and creativity. Your new headboard can make your bedroom look different. It shows your style and vision. Consider taking pictures and sharing them online to inspire others. Completing this project from start to end is truly satisfying. Your headboard shows your journey.
Showcasing Your Finished Headboard
Think about how your headboard matches the room’s decor when you place it. Put it against a wall that enhances its colors and textures. Add bed linens, throws, or artwork to bring everything together. Talking with other DIY fans can give you new ideas for your bedroom. Remember to post your creation on social media to connect with others!
Resources for More DIY Projects
Looking for more DIY projects? There’s plenty of resources out there. Websites and forums focus on home decor, showing new projects and how-tos. They help you learn new ways and styles. Whether making bedside tables or custom wall art, these places offer help and support. Get excited, and let your creativity loose on your next project!